“The Science Behind Pixar” Exhibition in Roppongi Hills
Introduction
The Pixar exhibition I waited for has arrived in Japan! As a Pixar fan and 3D graphics enthusiast, I’ve waited for this exhibition since it was first announced in the US and am excited to finally get the opportunity to experience it firsthand.
The exhibition was held in the Tokyo City View Observation Deck located at the top of Mori Tower in Roppongi Hills. The observation deck, located on the 52nd floor of the tower (250 meters above sea level) is a beautiful structure with a high ceiling and glass walls that extend all the way around the building, giving visitors panoramic views of the entire city.
I met up with a bunch of friends on a hot Saturday afternoon in Roppongi Hills near the giant spider sculpture, and together, we ventured inside the tower. It was my first time climbing it. The ticket was 1,500 yen for the early bird price and 1,800 yen for the regular one.
The Pixar Exhibition’s Japanese name is Pixar no Himitsu-ten - Inochi o Umidasu Science, which roughly translates to Pixar’s Secret Exhibition - The Science that Creates Life. Please excuse me for the quality of the photos accompanying this post – my phone camera simply didn’t do justice to this wonderful exhibition.
Pixar’s Production Pipeline
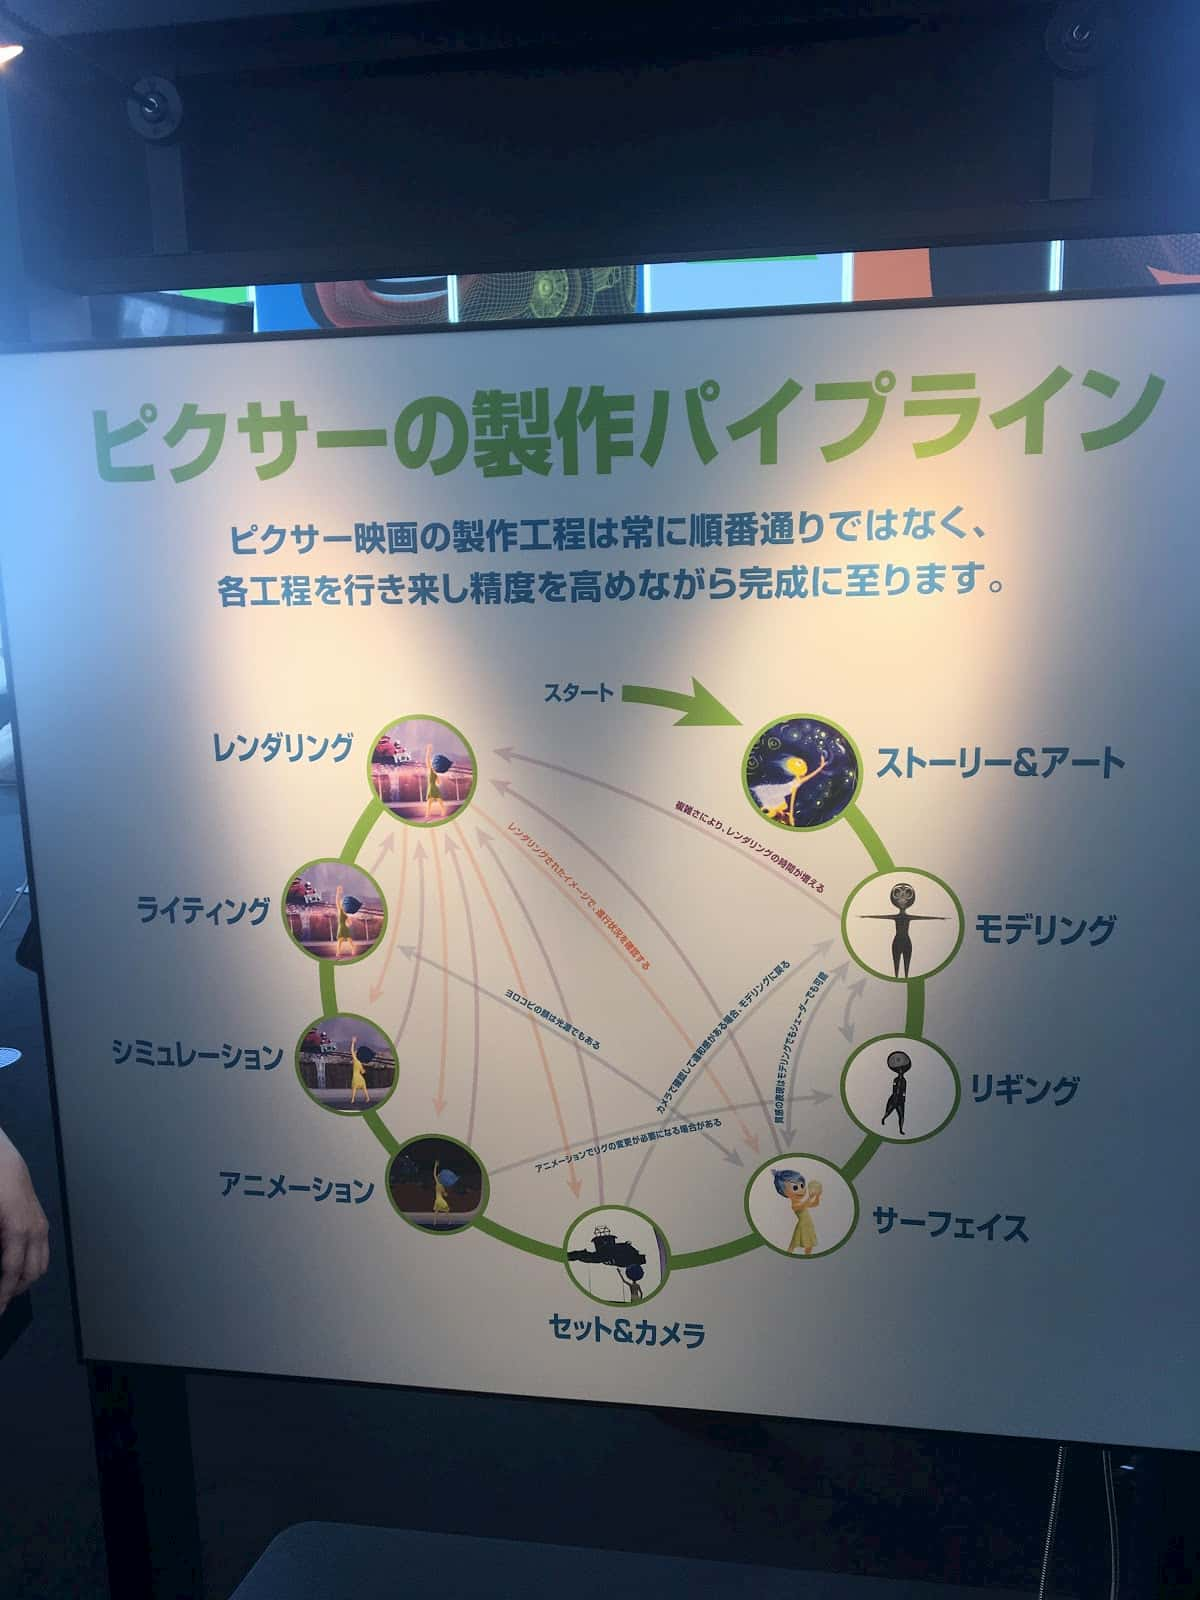
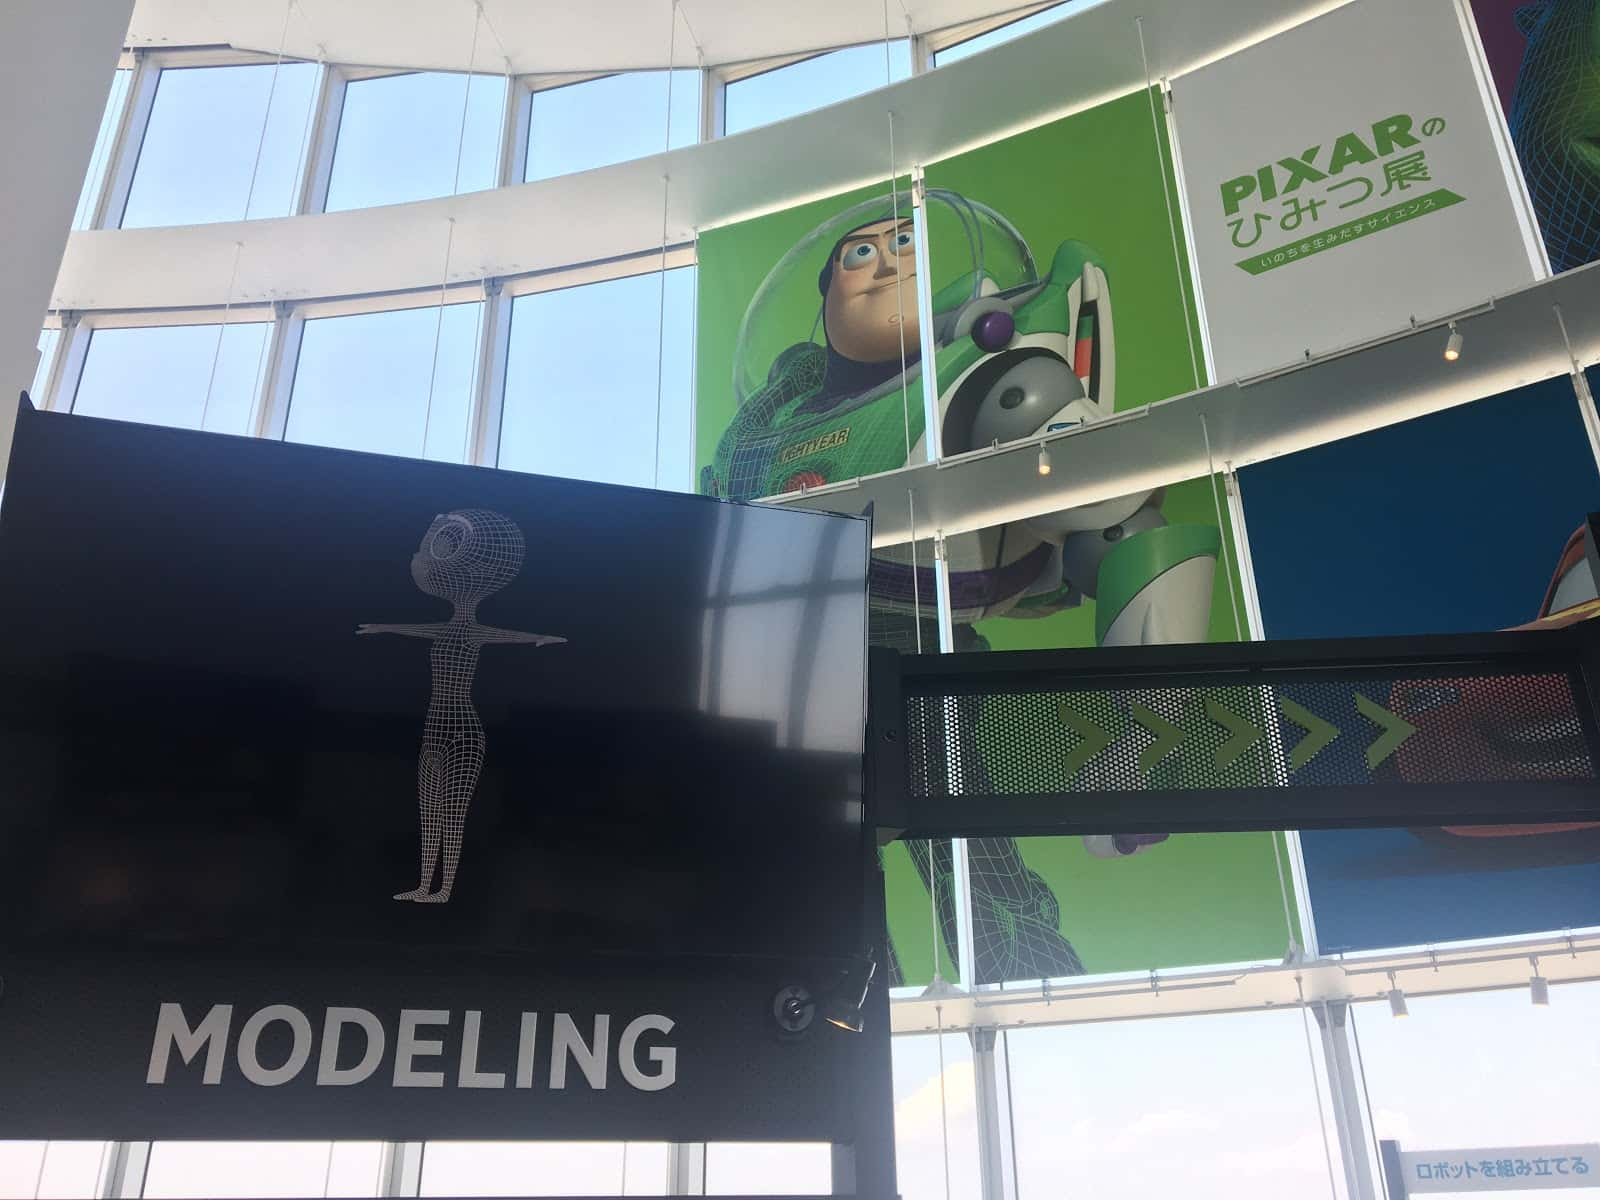
Upon entering the exhibition floor, we were presented with a series of panels explaining in detail the production pipeline, starting from the storyboard and concept art and finishing with the final render pass.
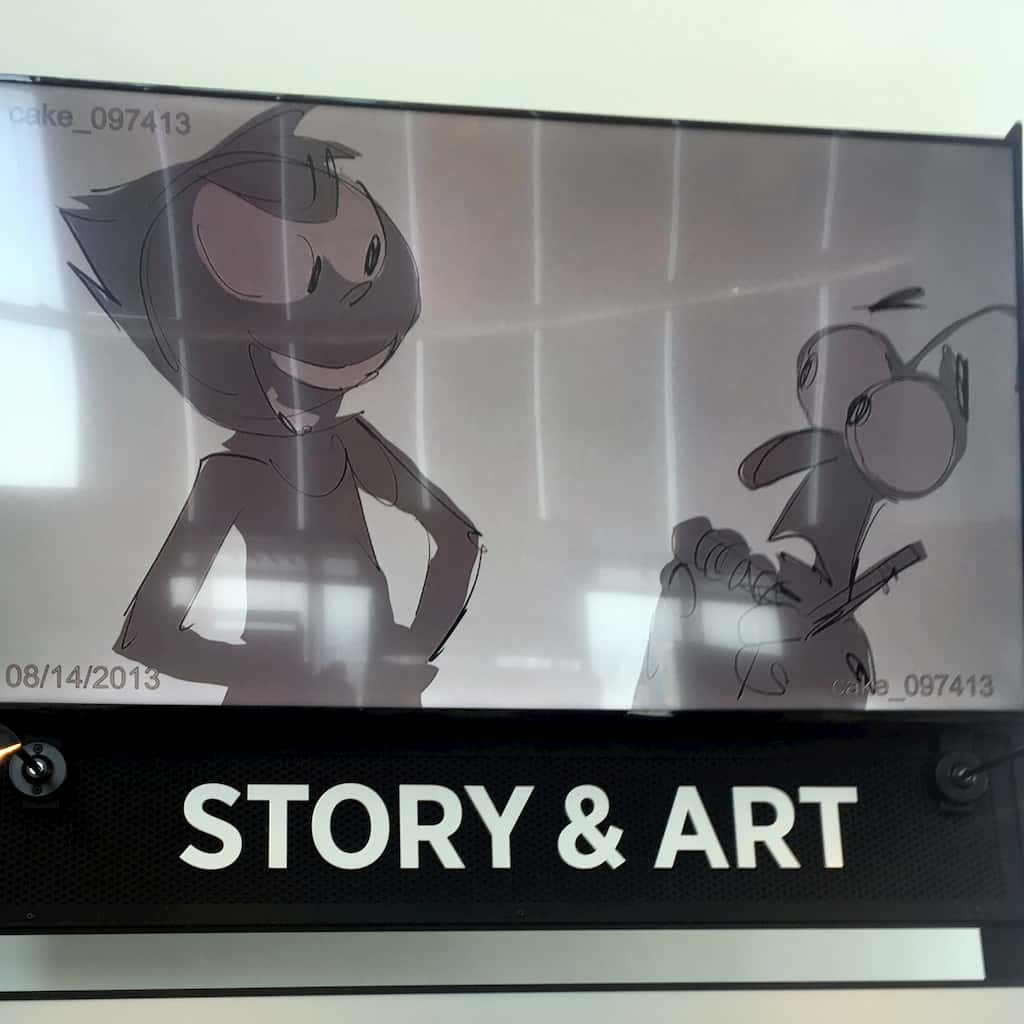
Story & Art
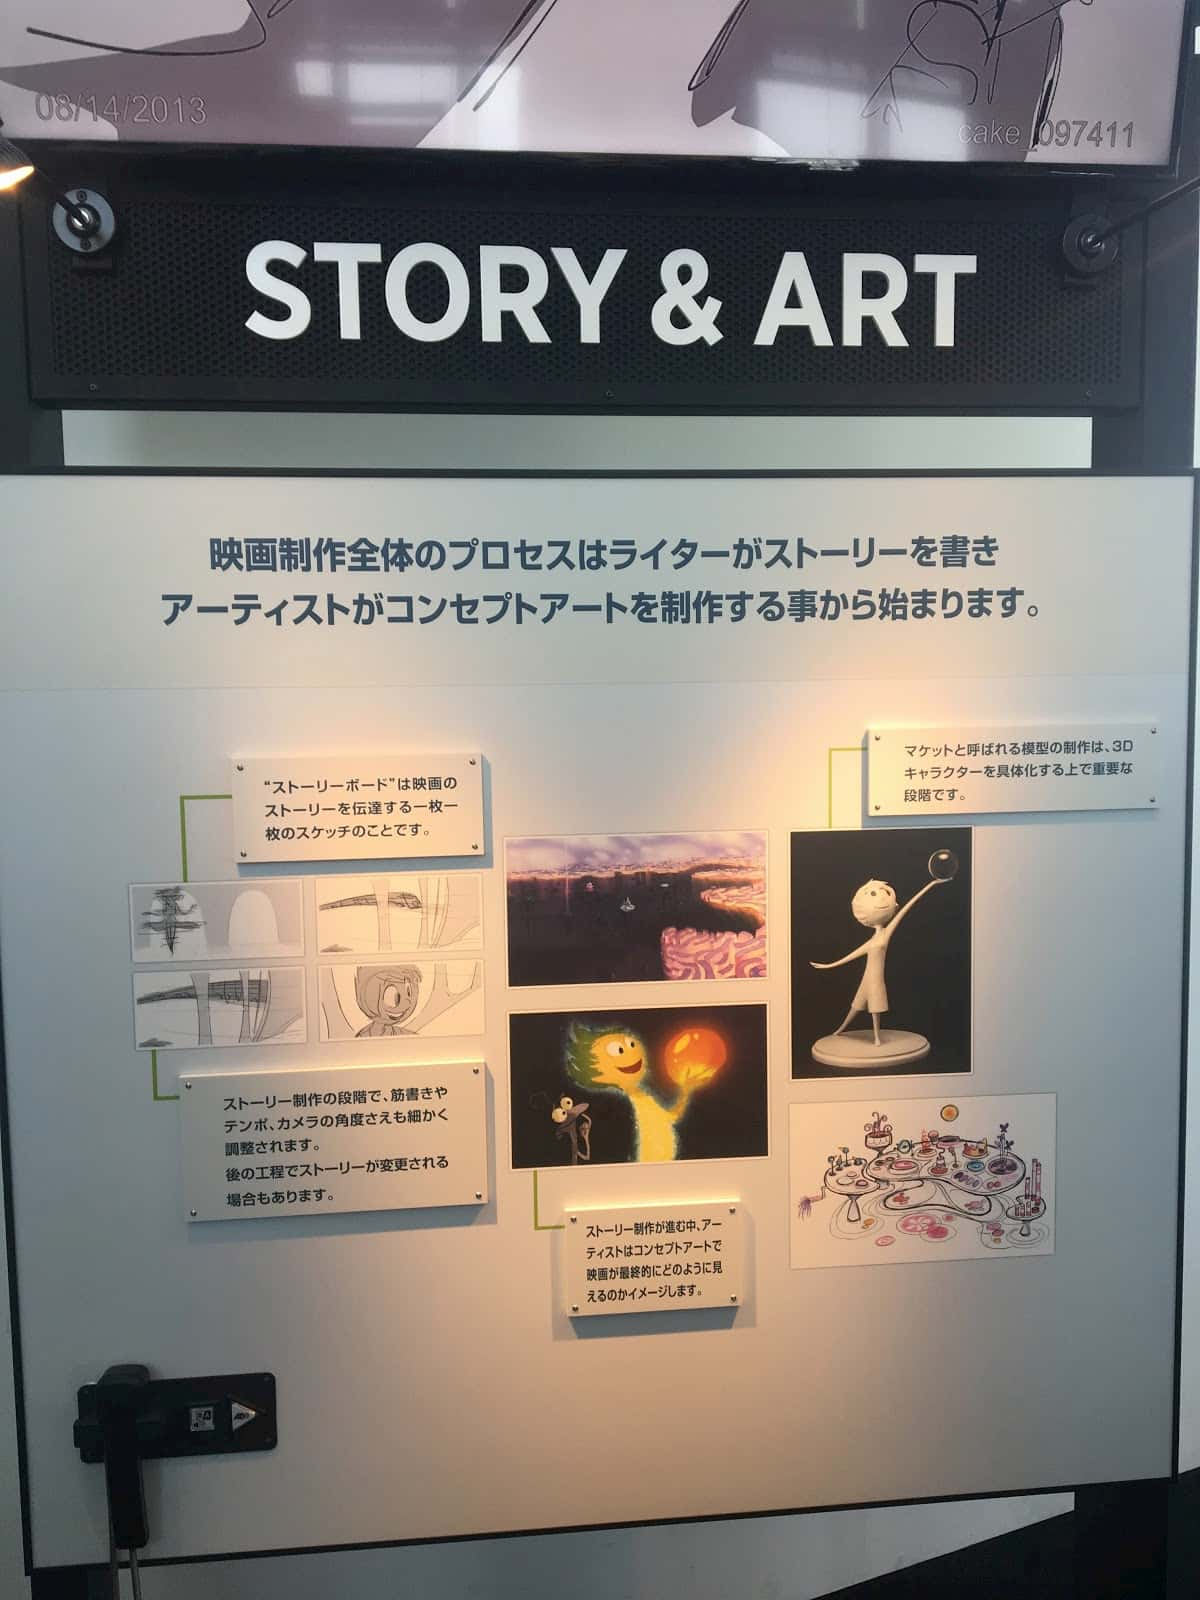
This is the first and fundamental phase in which every Pixar movie starts production. Writers start crafting the story that will eventually become the backbone of the whole movie.
The scenario, also known as a movie script, is a written document detailing the structure, action, and dialogue of the film.
A storyboard is also created in the process. A storyboard is like a blueprint for the movie – creating one is akin to doing a rough sketch before starting a painting. It helps to visualize, explore, and further plan the work ahead. A storyboard usually contains sketches but may also utilize reference images or other kinds of information like textual descriptions of some scenes. Essentially, a storyboard complements the scenario and helps add a visual dimension to it.
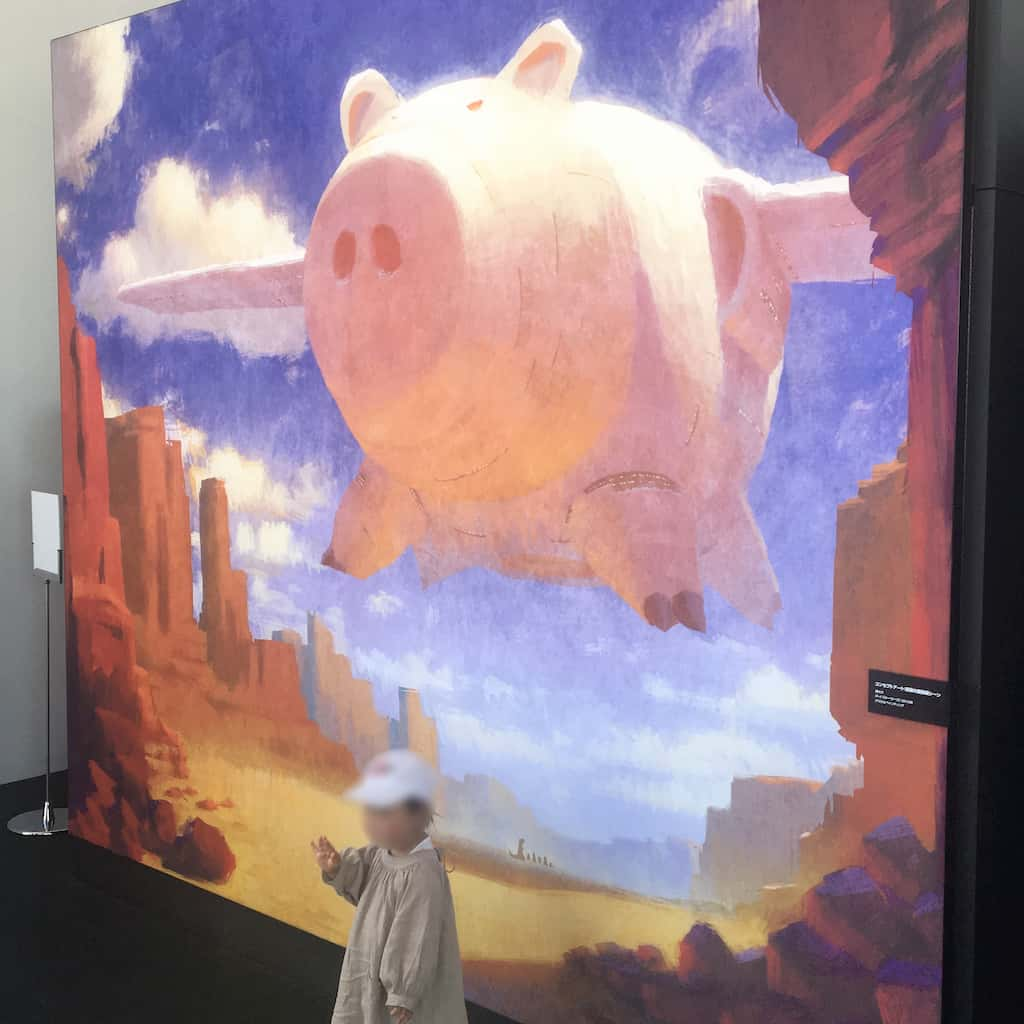
In contrast, concept art is a collection of drawings used to capture the essence and vision of a movie. It’s commonly used to provide a quick visual representation of the movie before committing to it any further. The purpose of concept art is not to produce high-quality artwork, but instead to quickly and effectively explore ideas for the film. Concept art helps visualize the look and feel of the movie, offering a strong reference point to help the other artists working on the production.

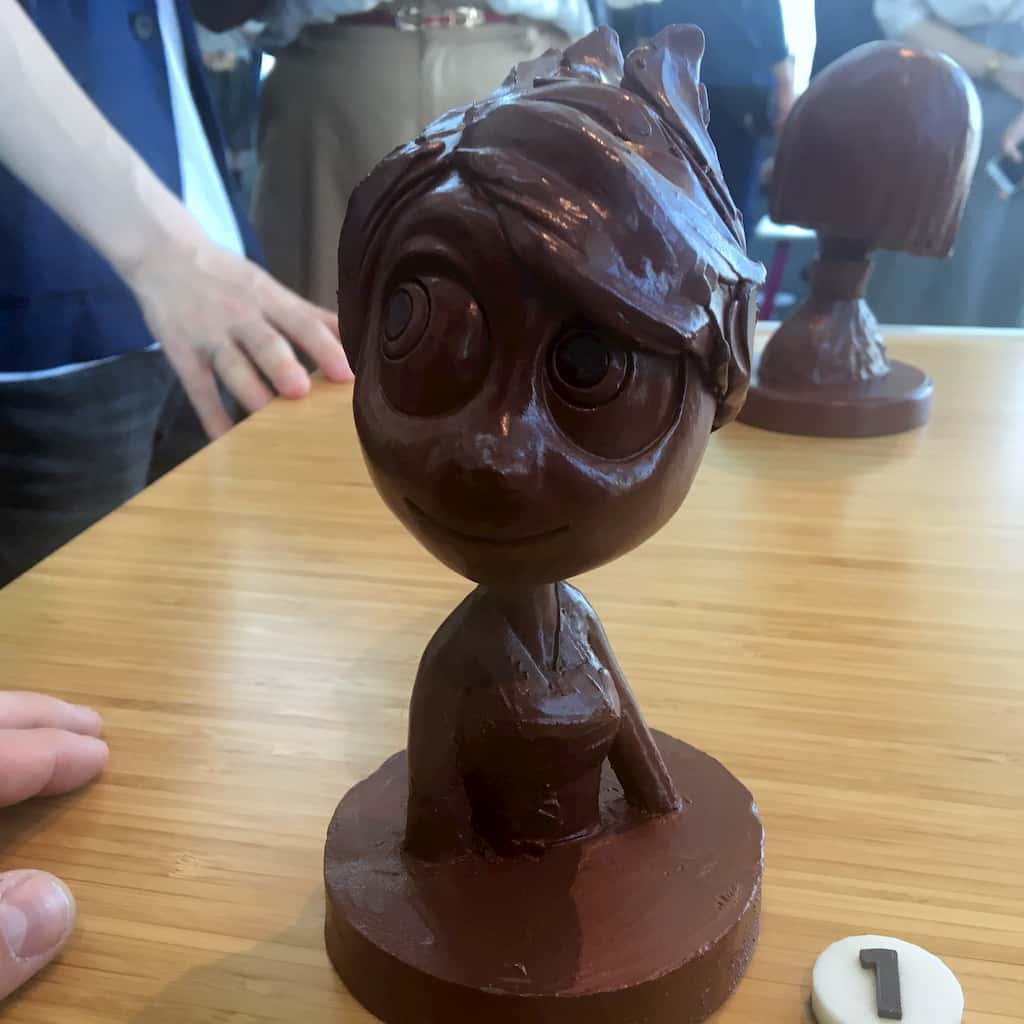
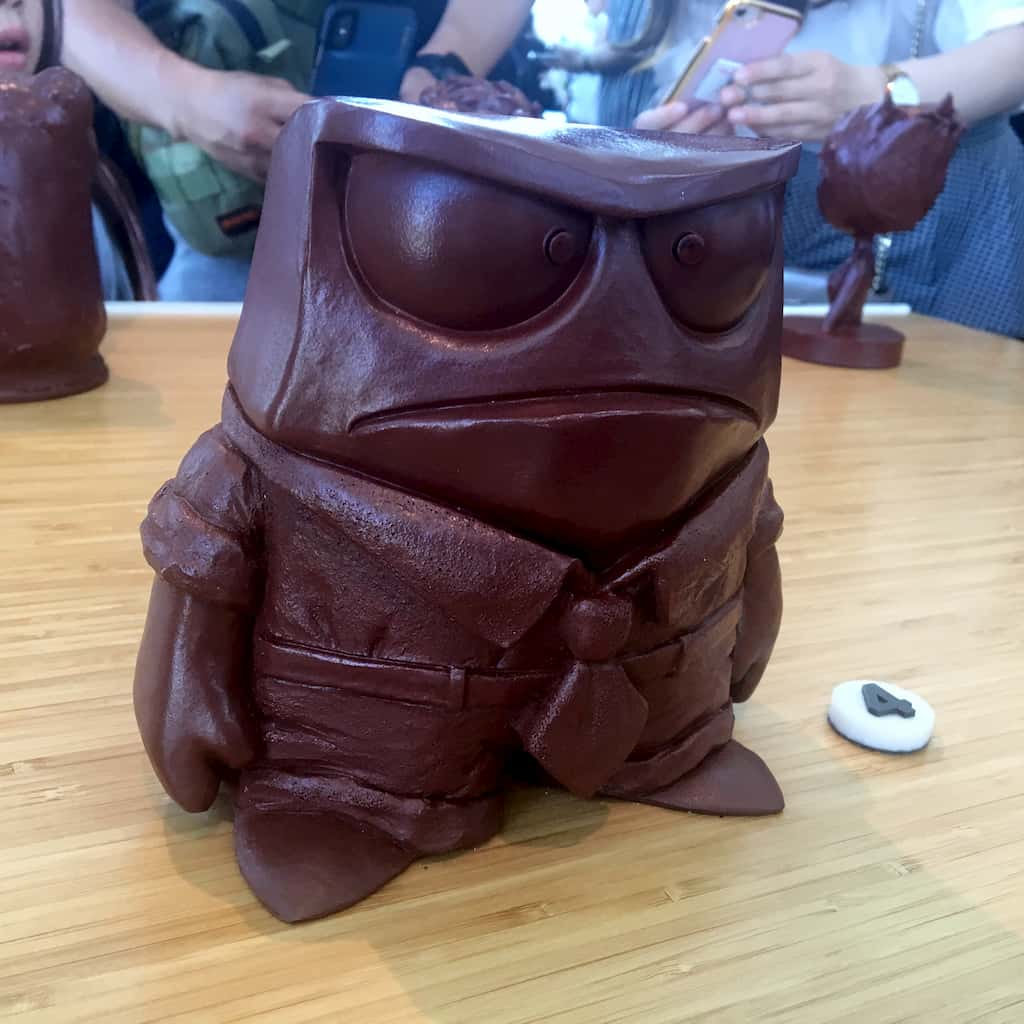
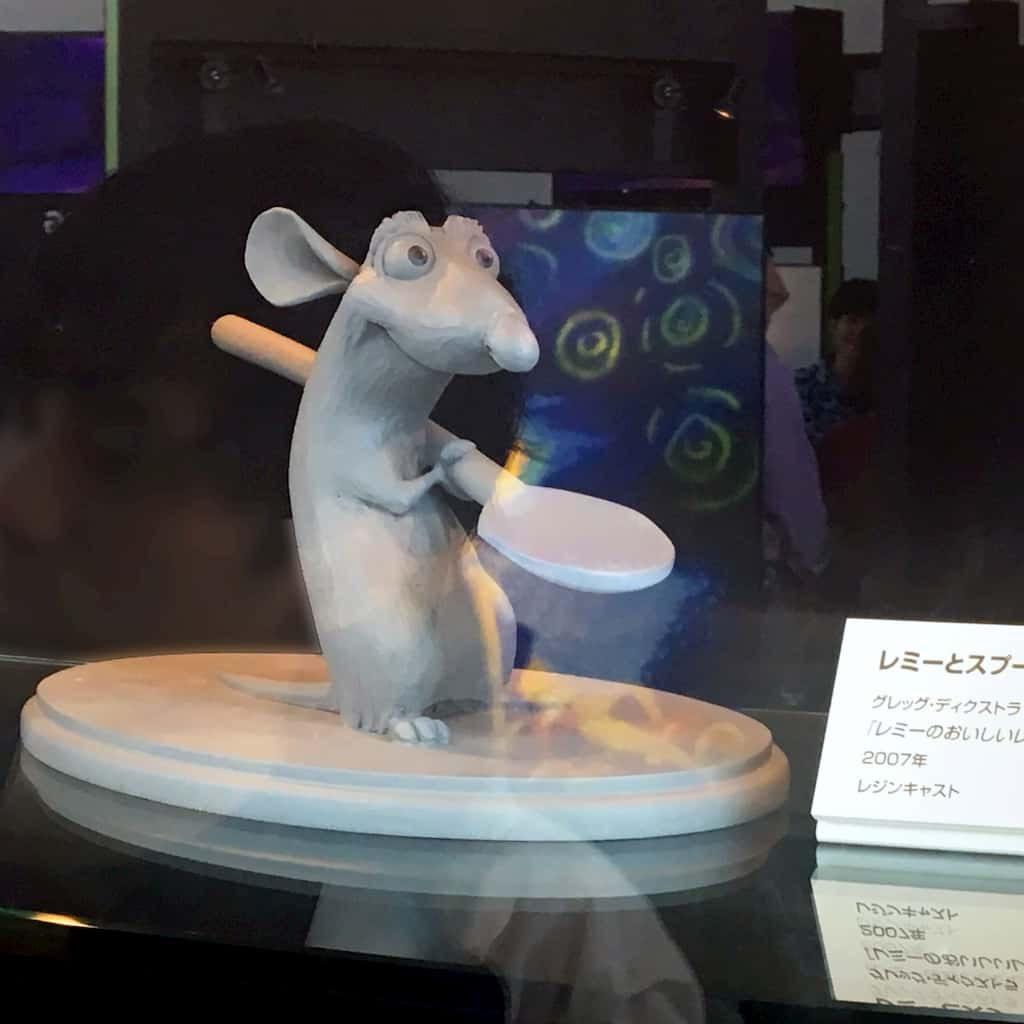
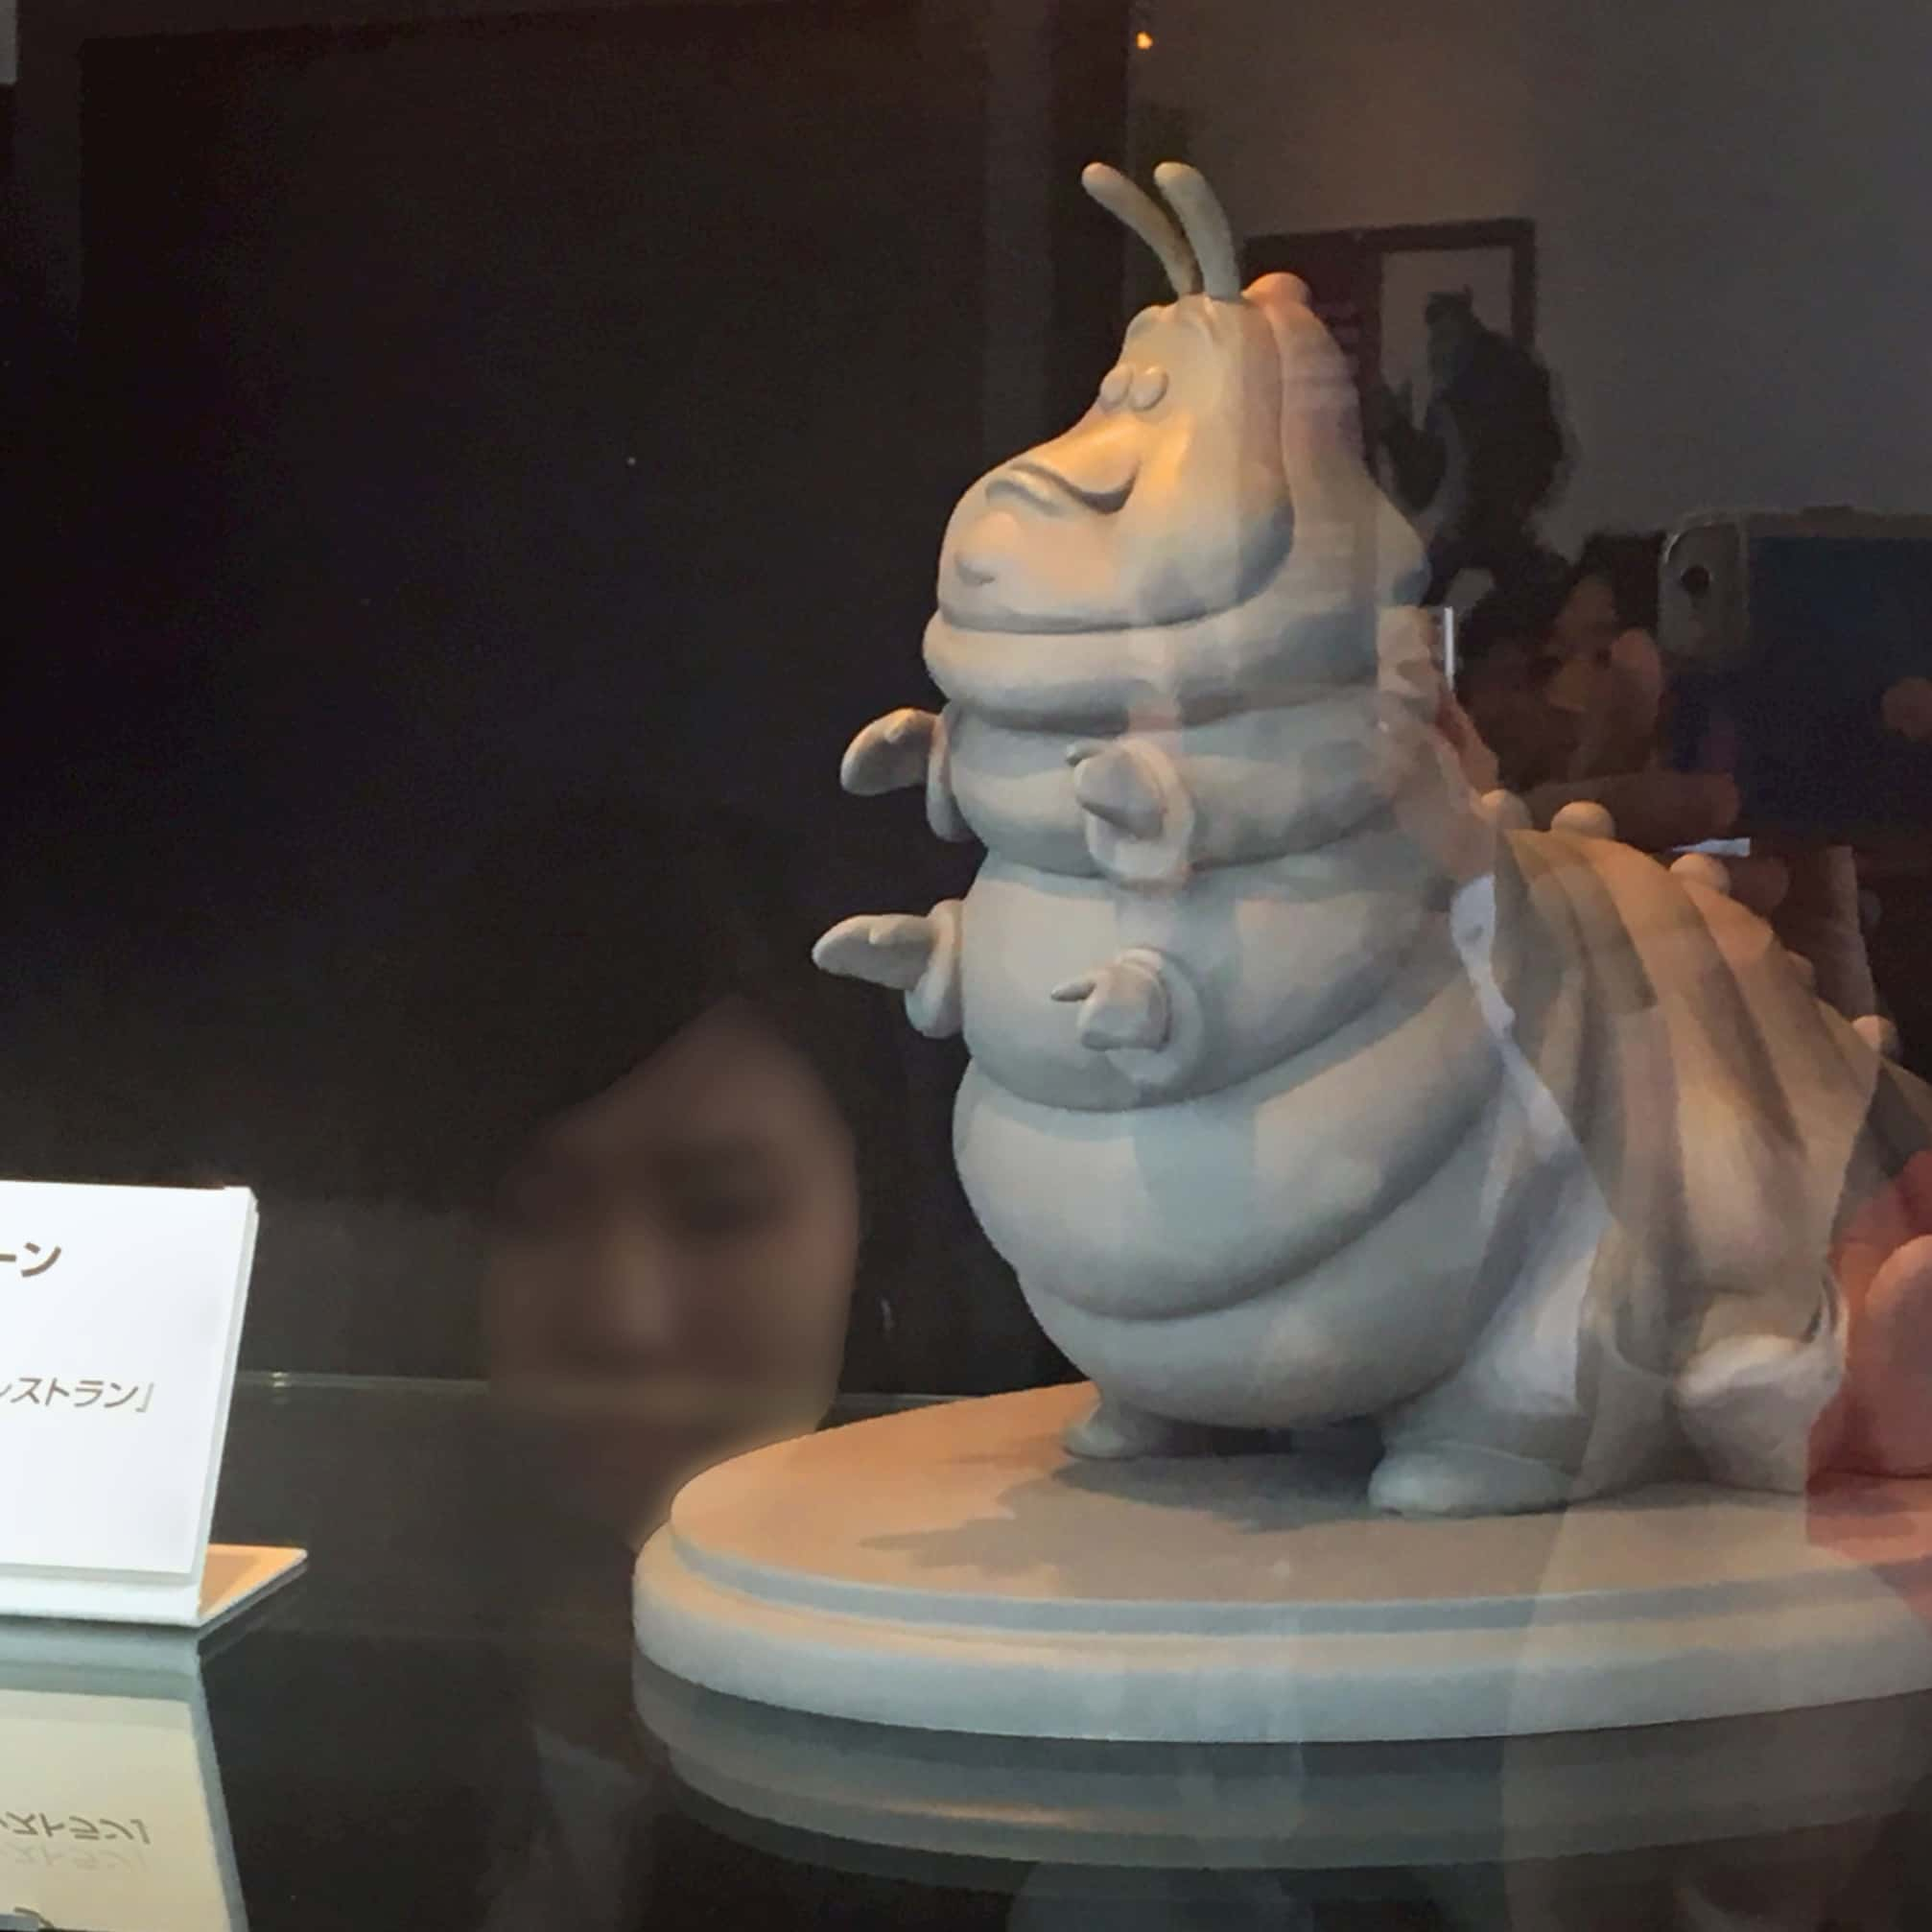
Clay sculptures are also created to visualize the design. Creating real sculptures is a way to check if the design created with a two-dimensional drawing still works when transferred to a tri-dimensional world. This is better done with objects in the real world, since the 3D perspective displayed by 3D software may sometimes be deceptive to the eye (given that the software must display the image on a 2D screen). With real sculptures, there’s no ‘cheating’.
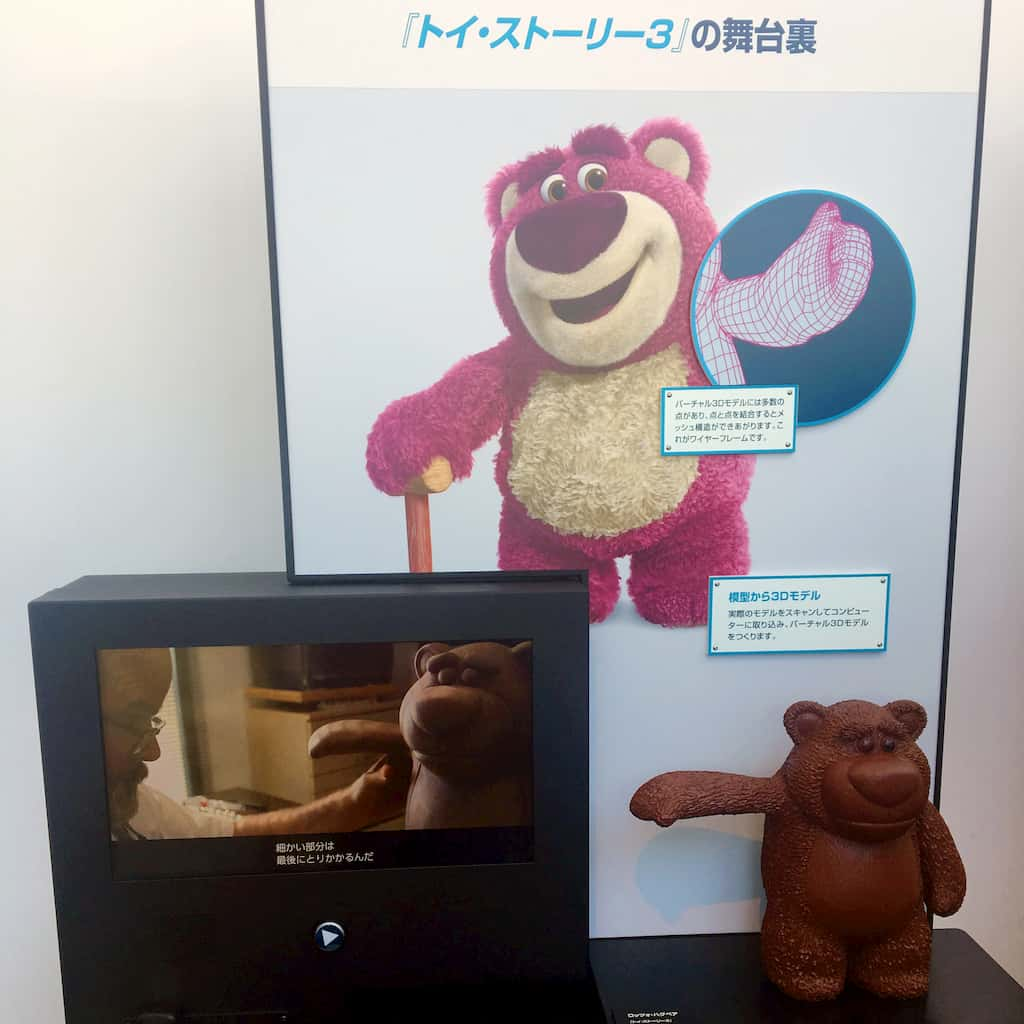
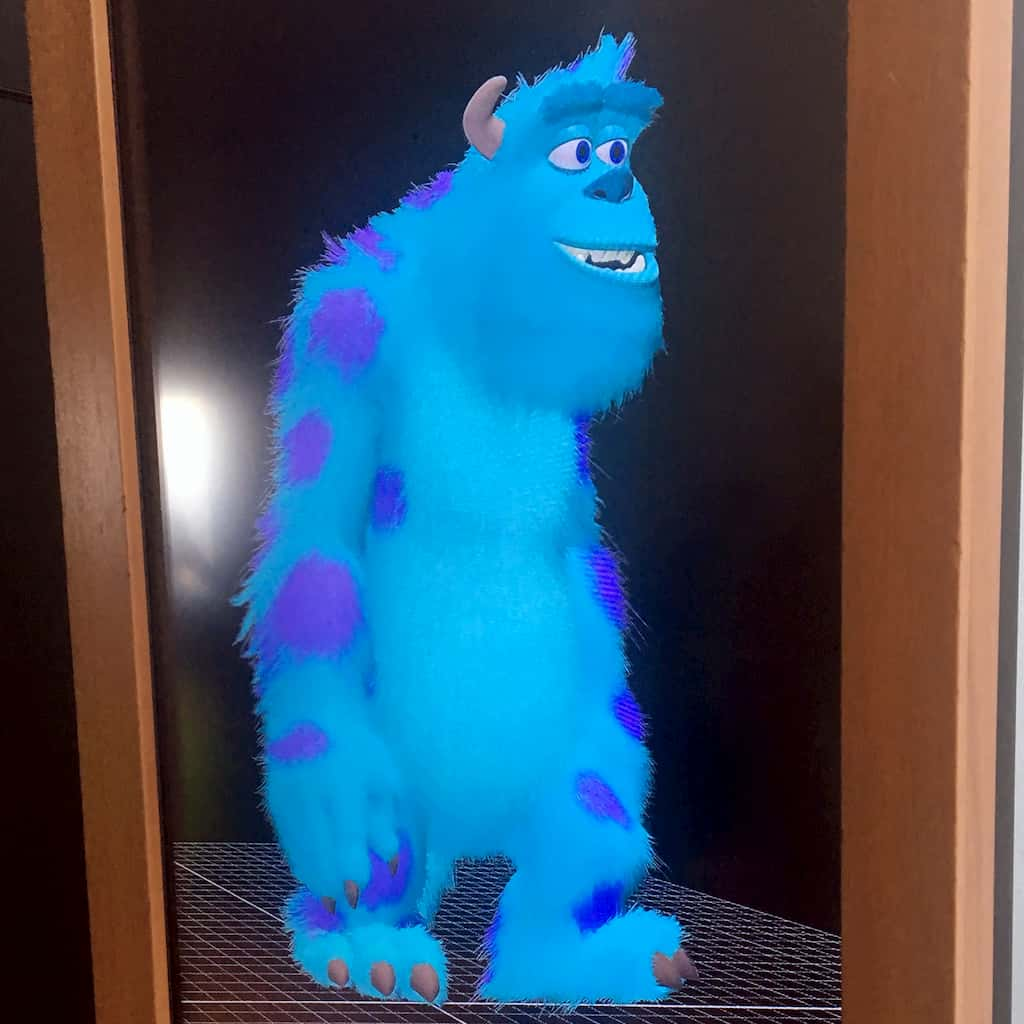
Modeling

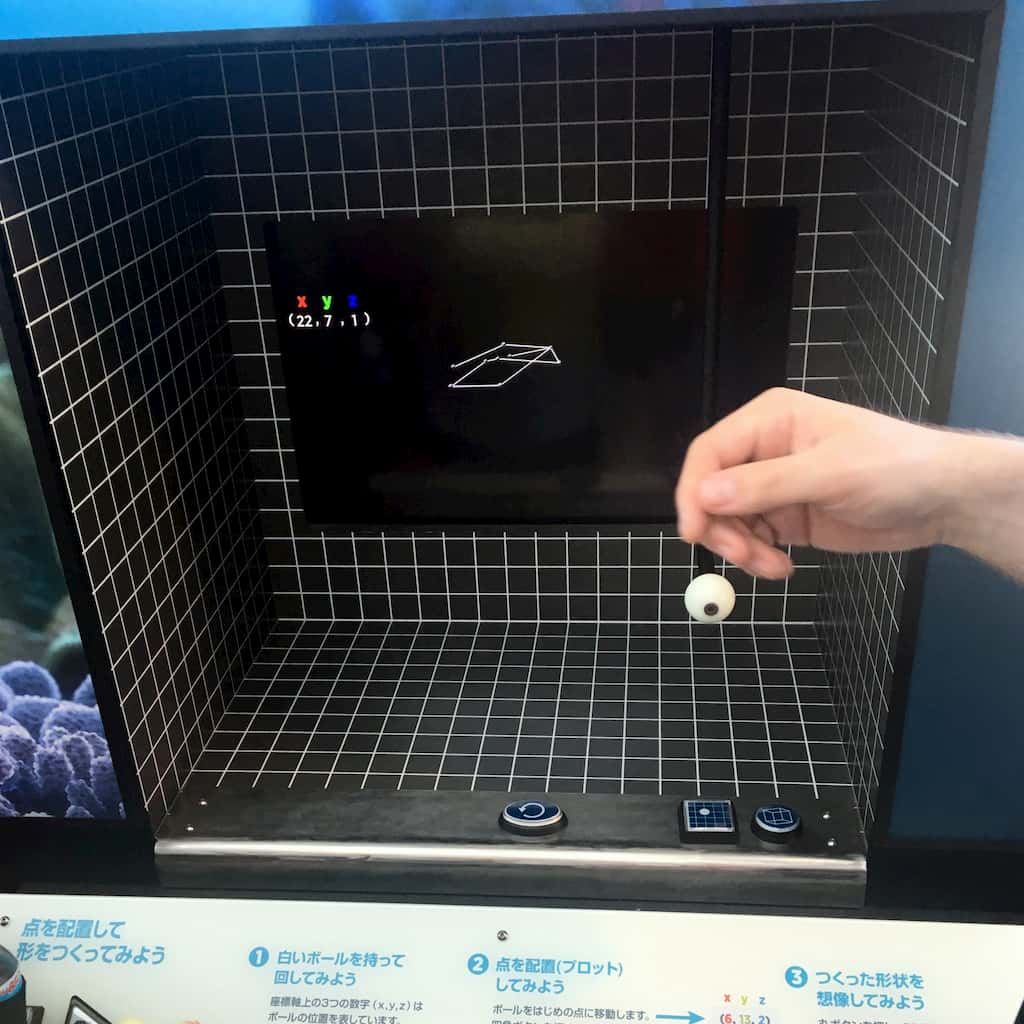
The next step is modeling, which is the process of turning a character or object into a 3D model using dedicated computer software. A 3D model is basically a collection of vertices, edges, and faces used to describe the surface of the object. The resulting 3D model will be more or less detailed depending on the complexity of the subject being modeled.
Since character models are so important, modelers need to take special care when creating them. For example, the 3D model for Joy (in one of the above images) required 17 passes and revisions before it was considered complete.
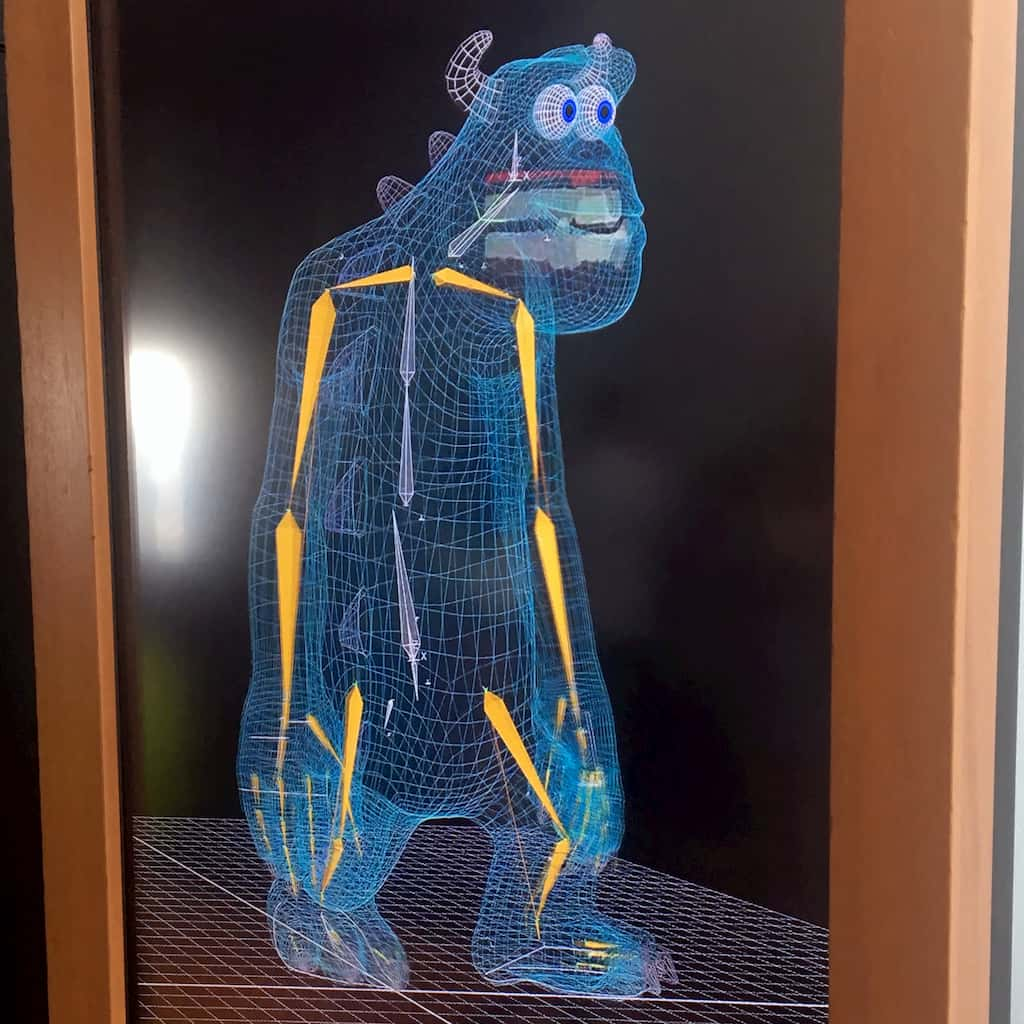
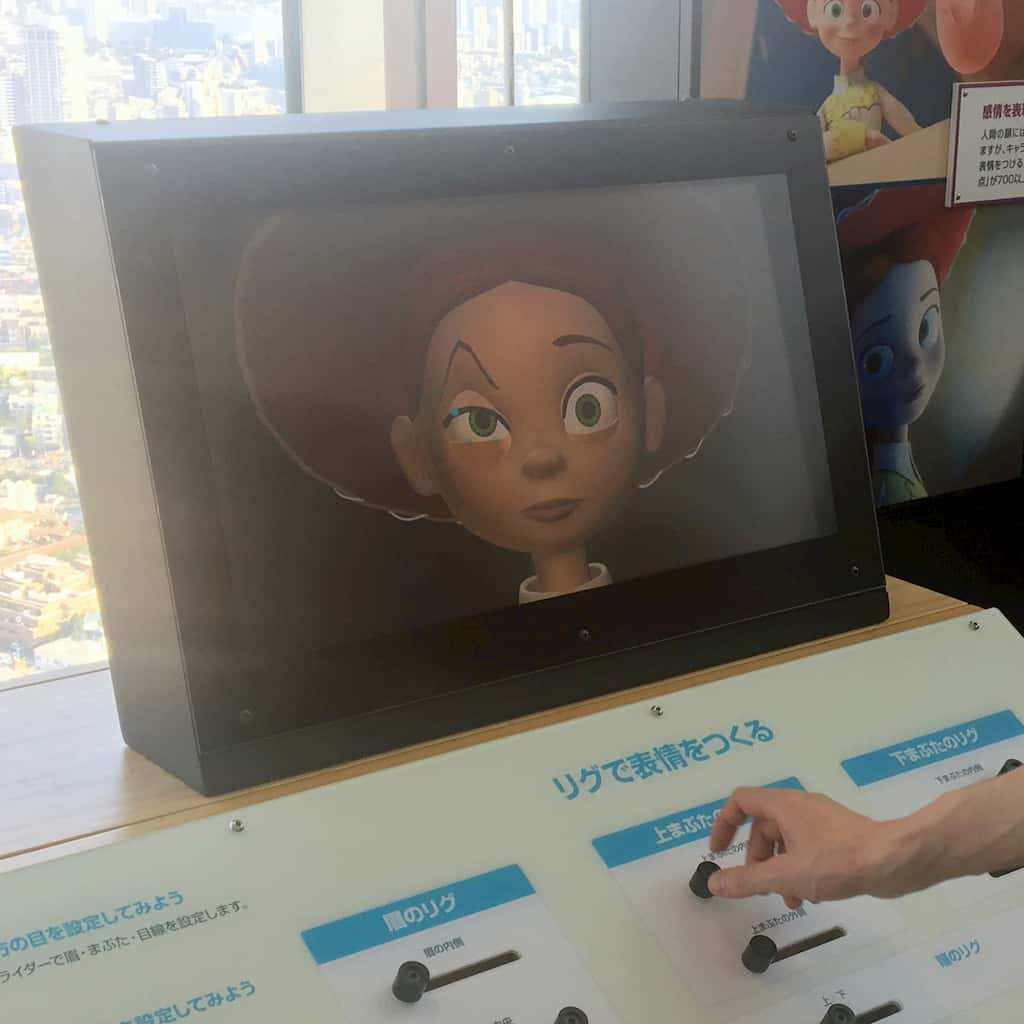
Rigging
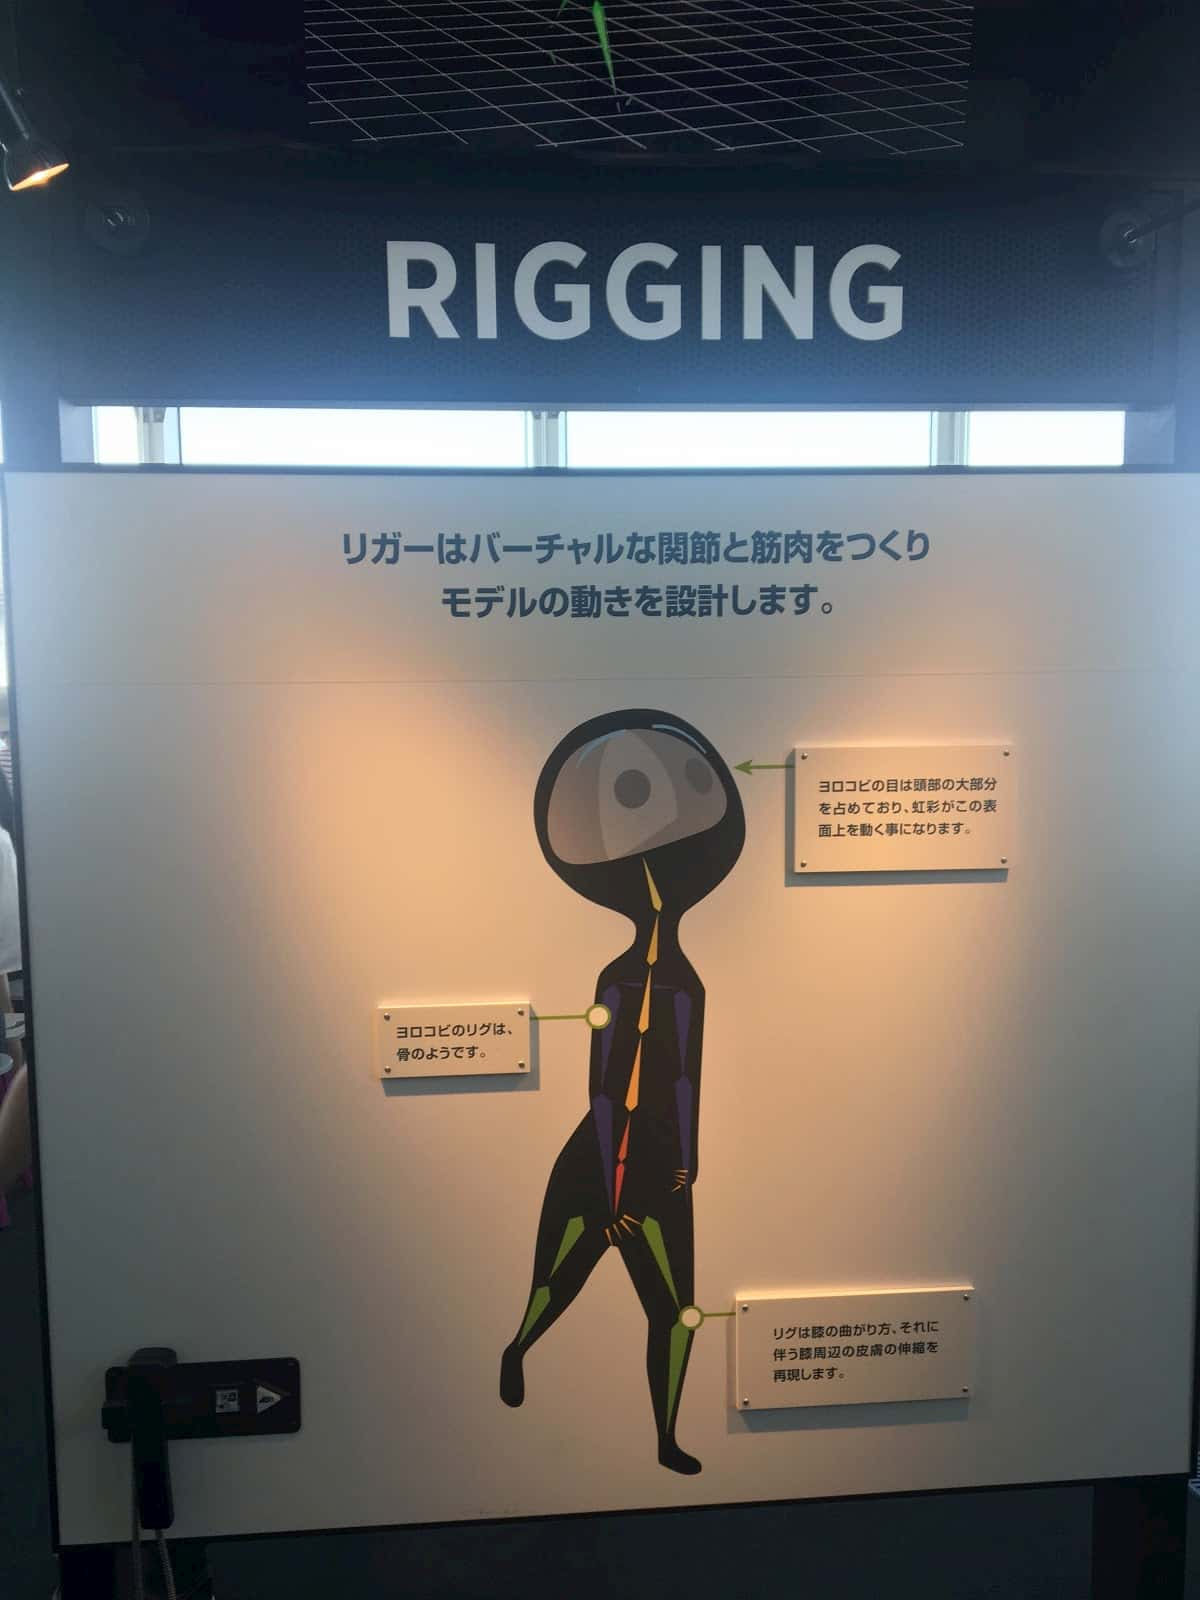
Rigging is the process of creating virtual joints and muscles so the animators can design the character’s movements. The rig reproduces how the joints bend and the skin stretches around them. Think of the rig like the skeleton for the 3D model. You move the skeleton and the model moves with it.
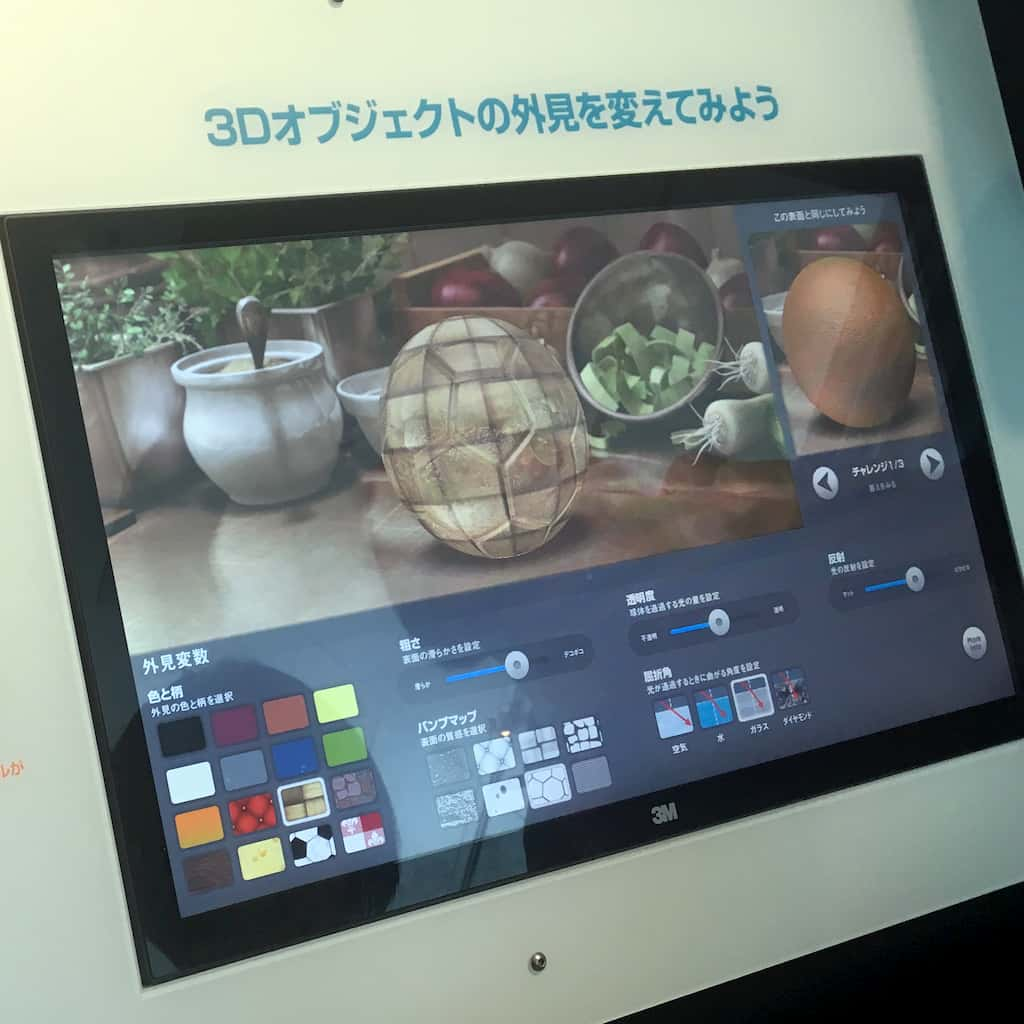
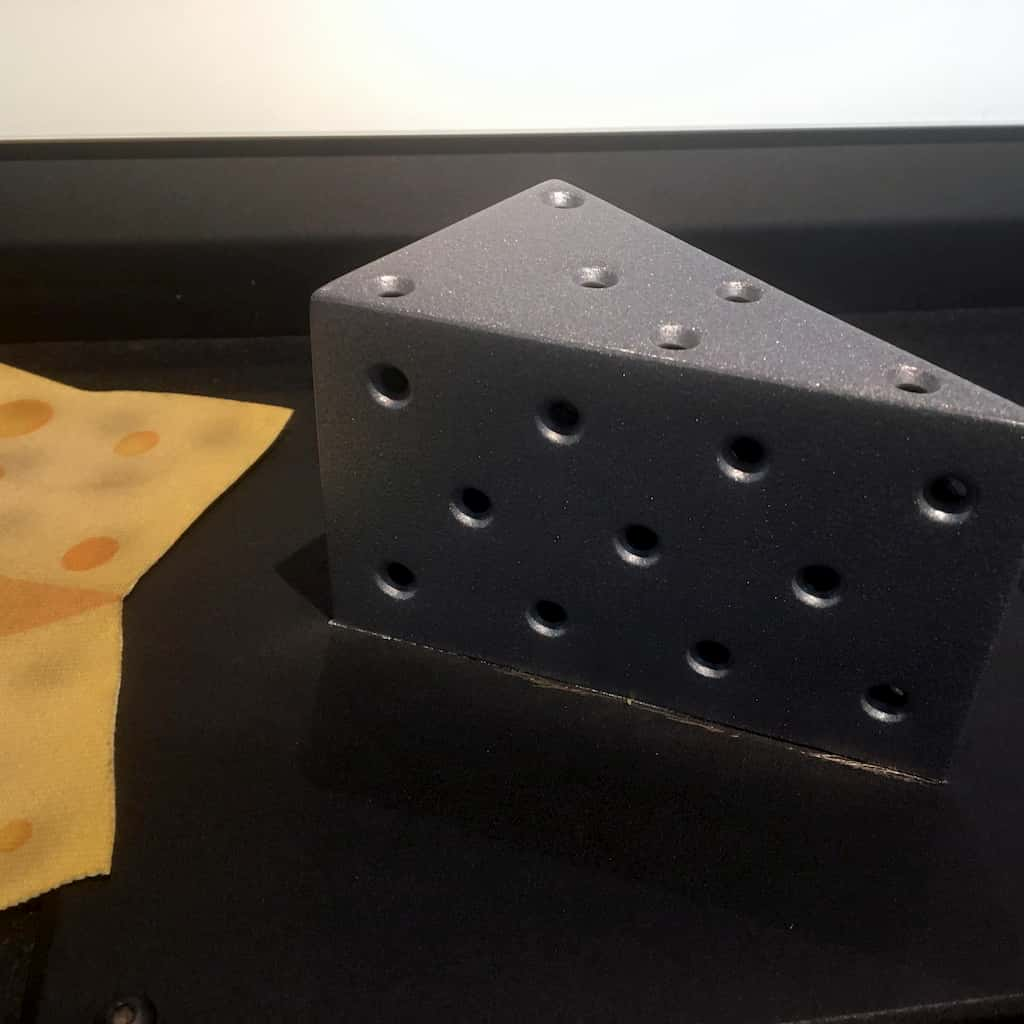
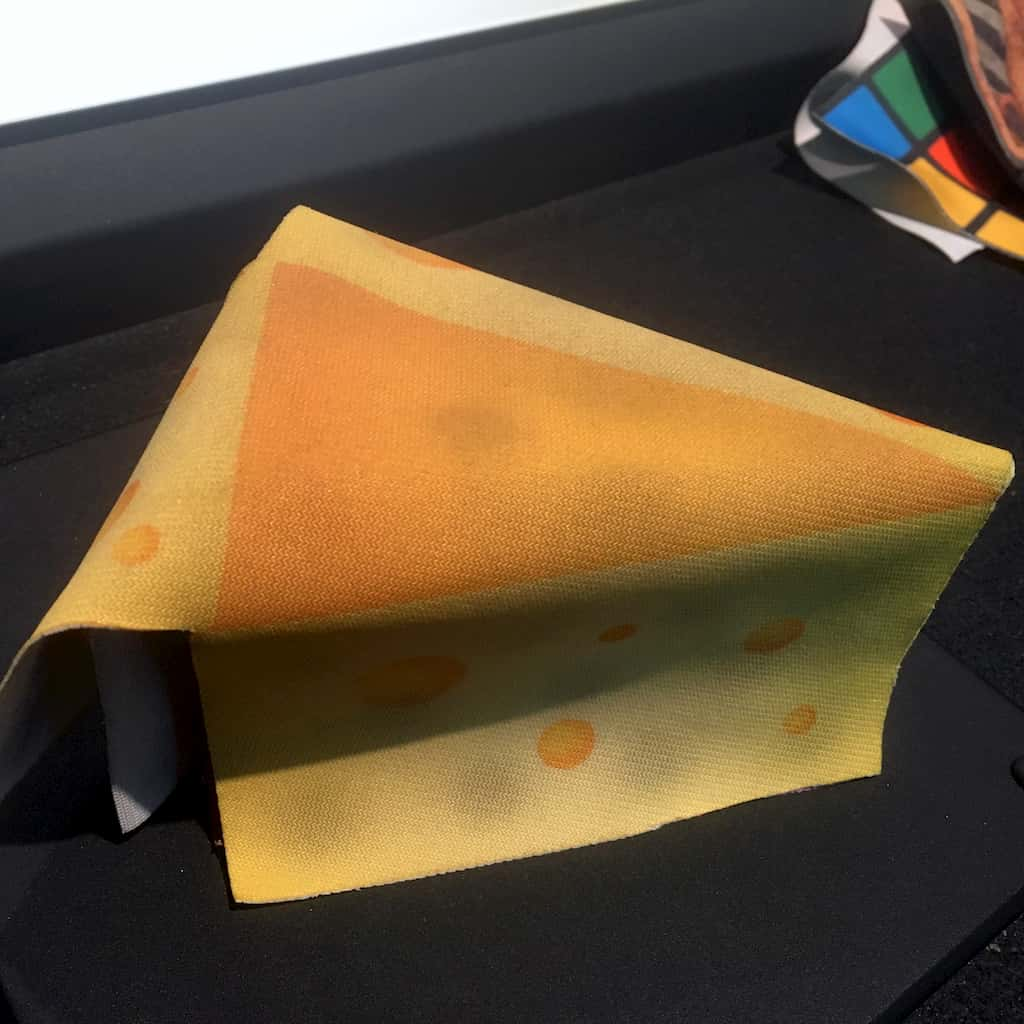
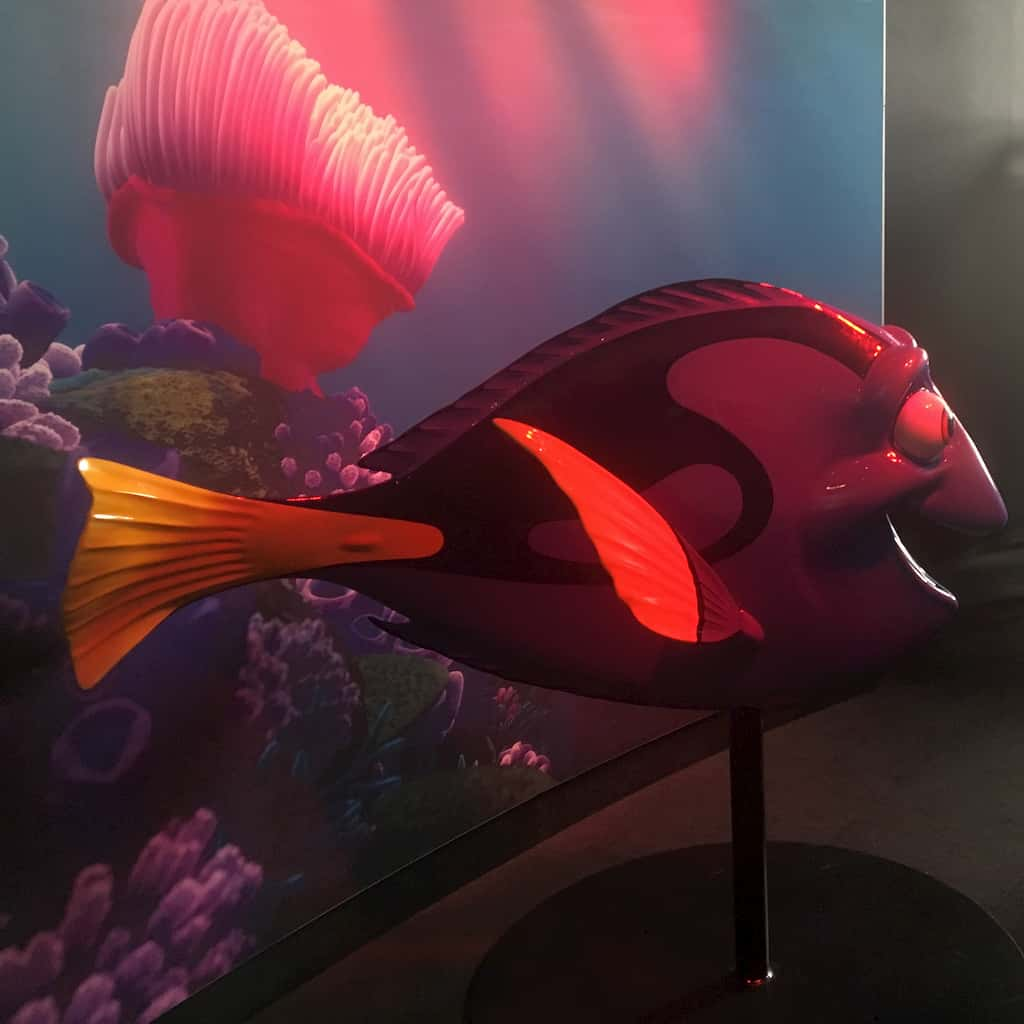
Surfaces
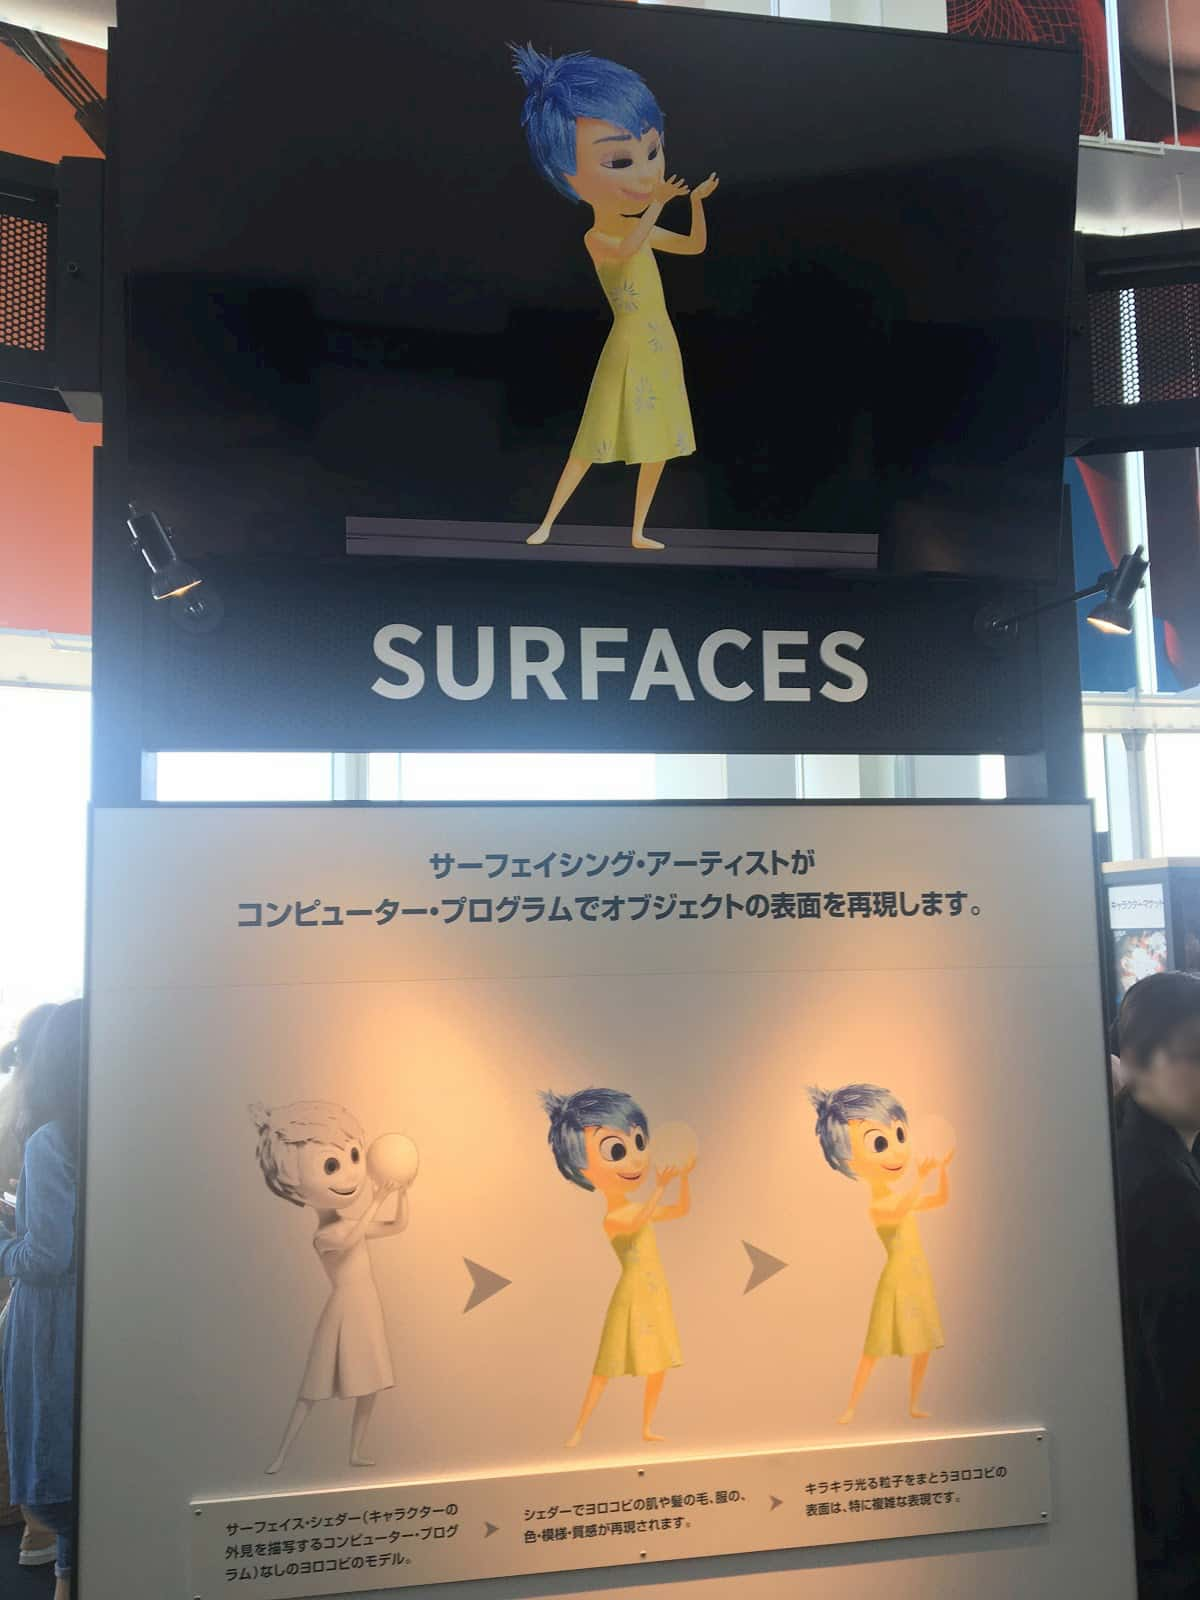
Surface artists use surface shaders, the computer programs used to give the 3D model surfaces their rendered look. For example, shaders are used to make the surface appear opaque, reflective, translucent, smooth, rough, etc. Details such as a character’s skin, hair, and clothing colors, patterns, and textures are also reproduced using shaders.
Set & Camera
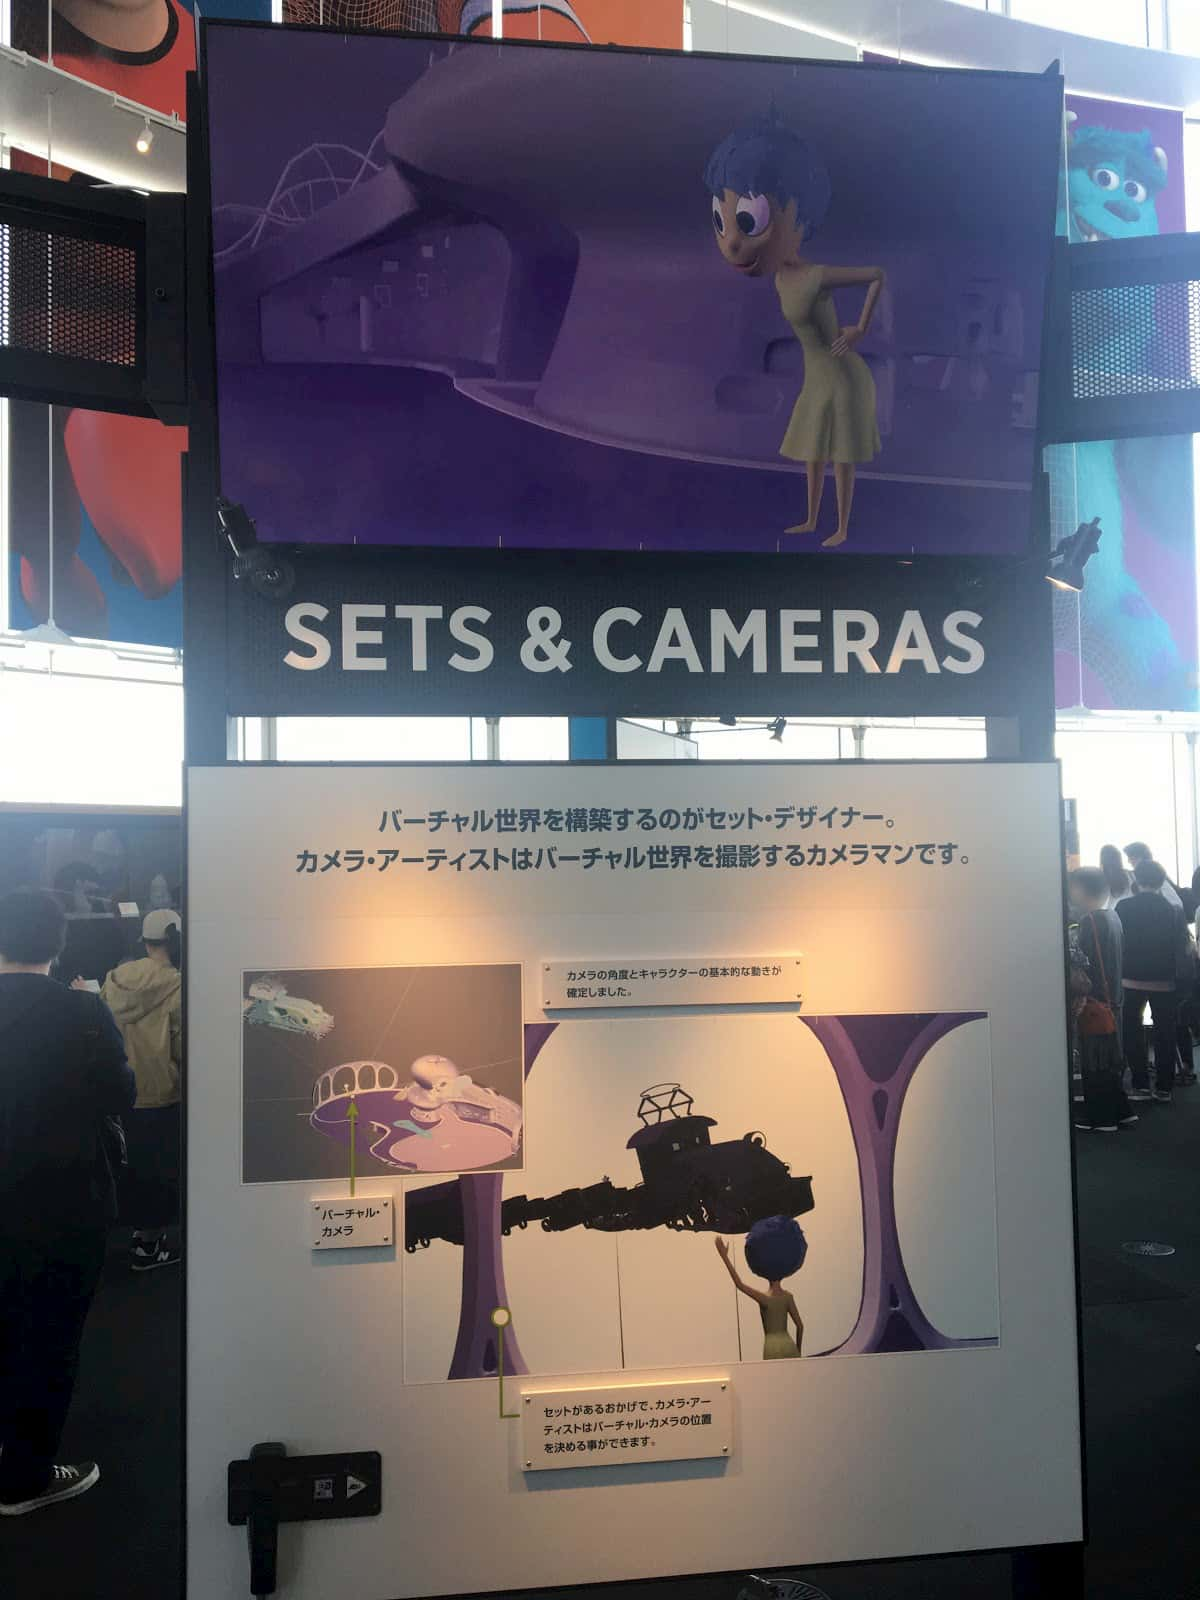
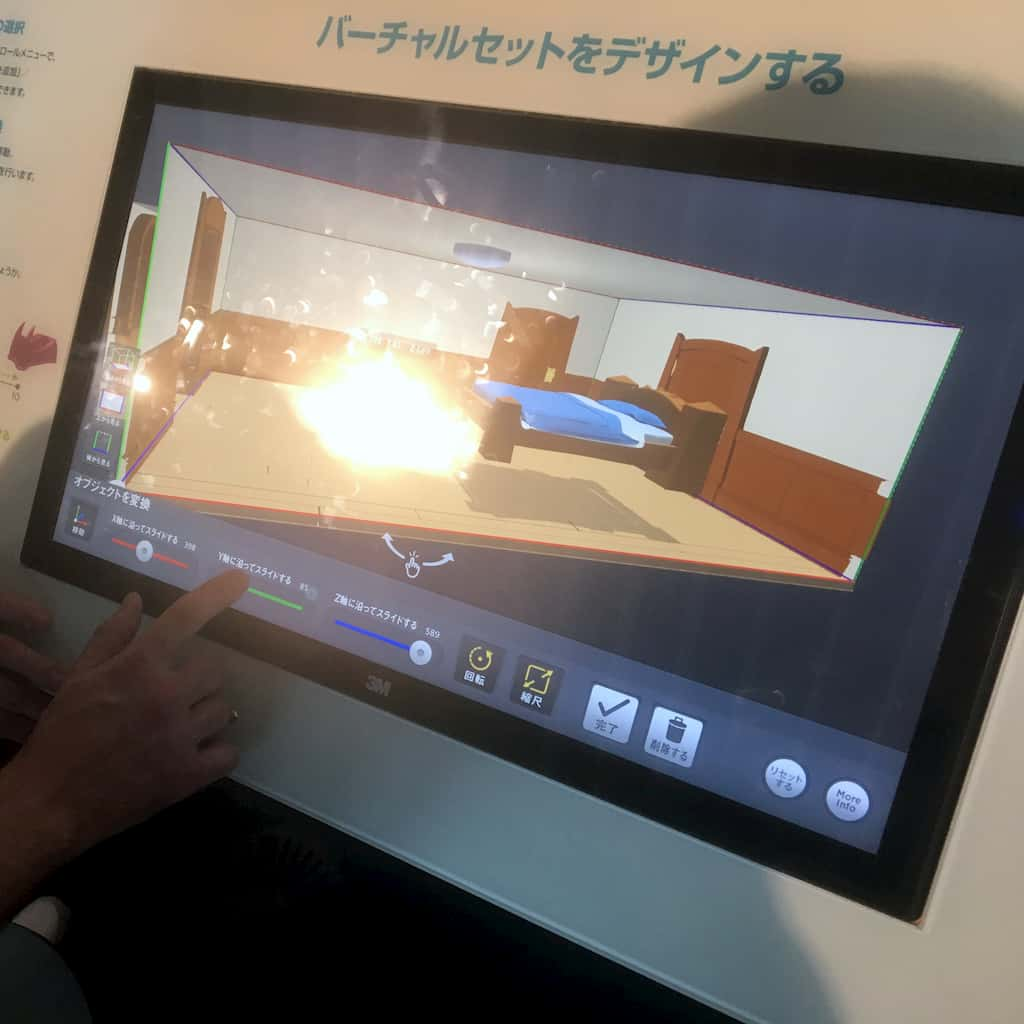
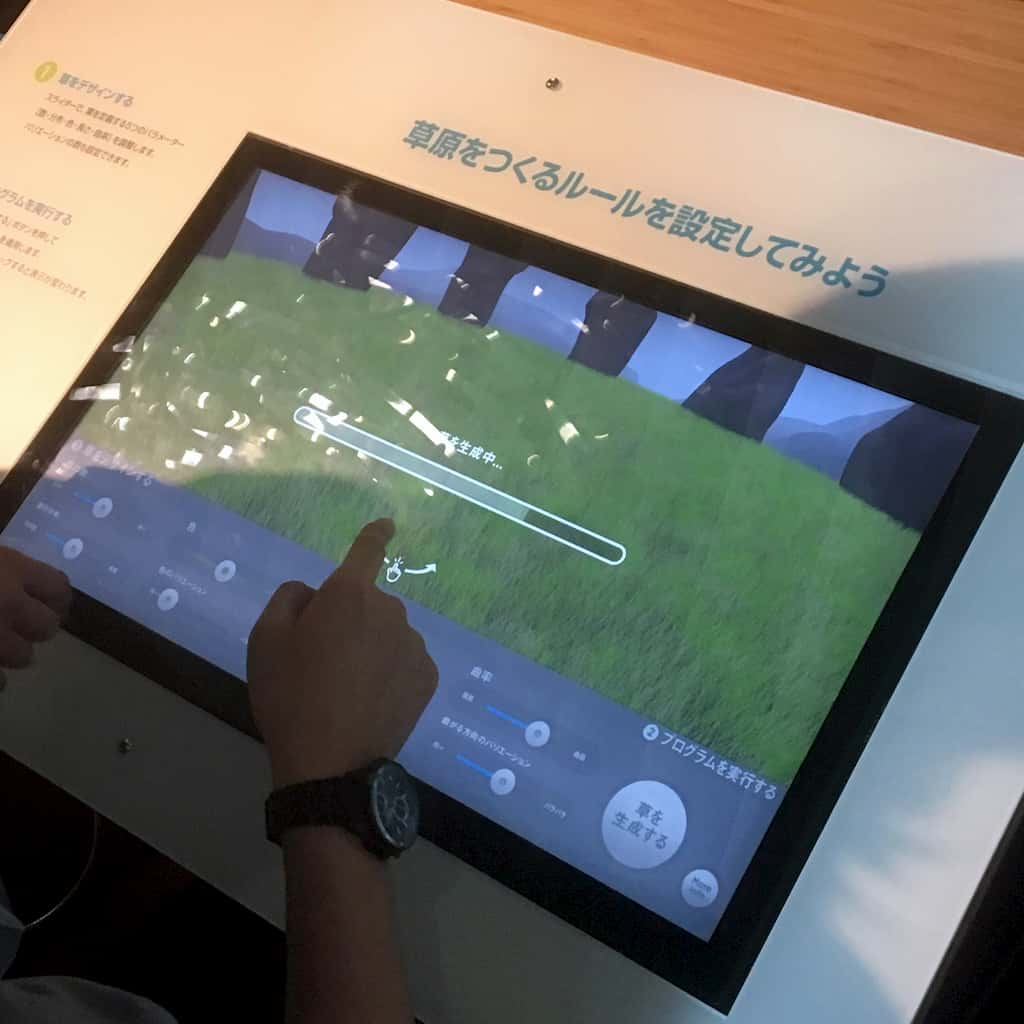
Virtual sets are the environments in which the movie’s story will unfold. These environments are created by set designers, just as architects design physical environments. Every element in the set is either modeled by hand (like you would model a character) or procedurally generated using specialized software.
Virtual cameras are just like real cameras, and camera artists determine the best combinations of light, perspective, lens, movement, and composition to enrich the story. Rough camera movements and angles are finalized in this step.
Animation
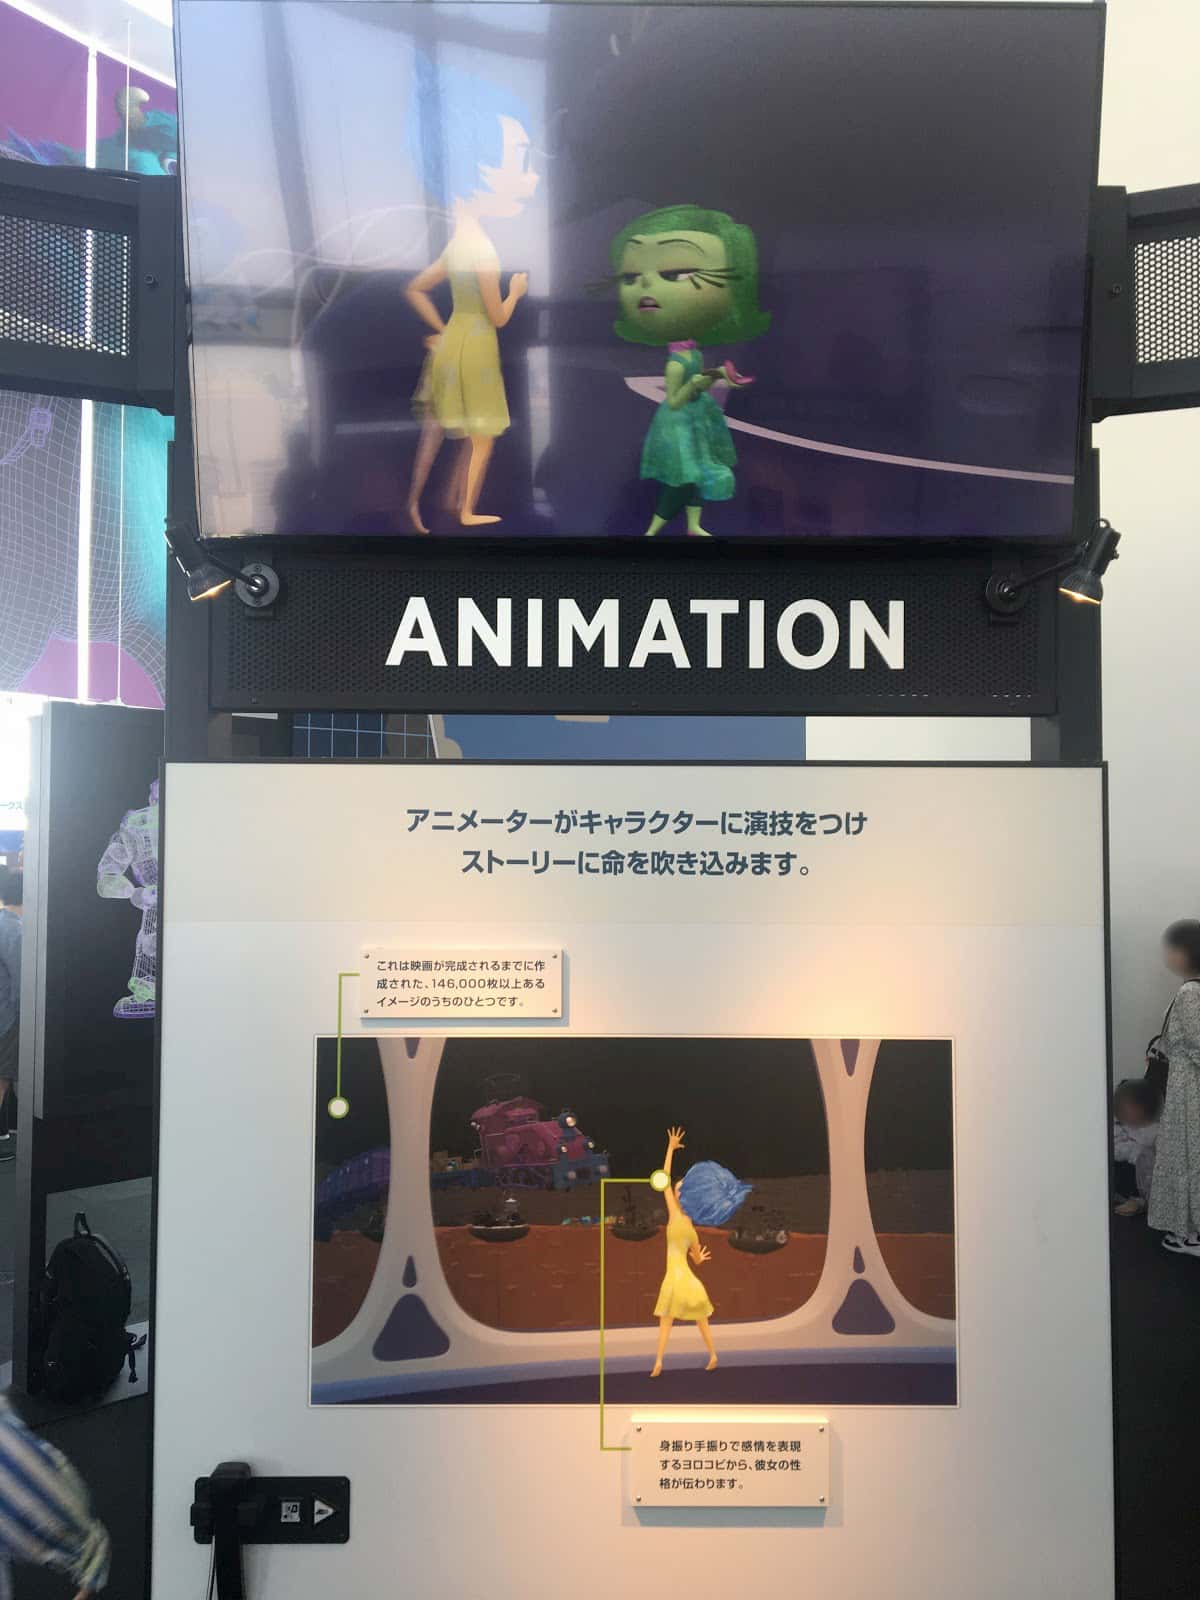
Animation breathes life into the movie. Our characters would be lifeless without animation. These animations are divided into a sequence of poses called keyframes.
The animators animate the 3D model using the rig created in the previous step of the pipeline, posing the characters to perform their virtual acting. Animators set the poses for the keyframes, and the animation software will help with the interpolation by calculating how the object should move in between keyframes.
Simulation

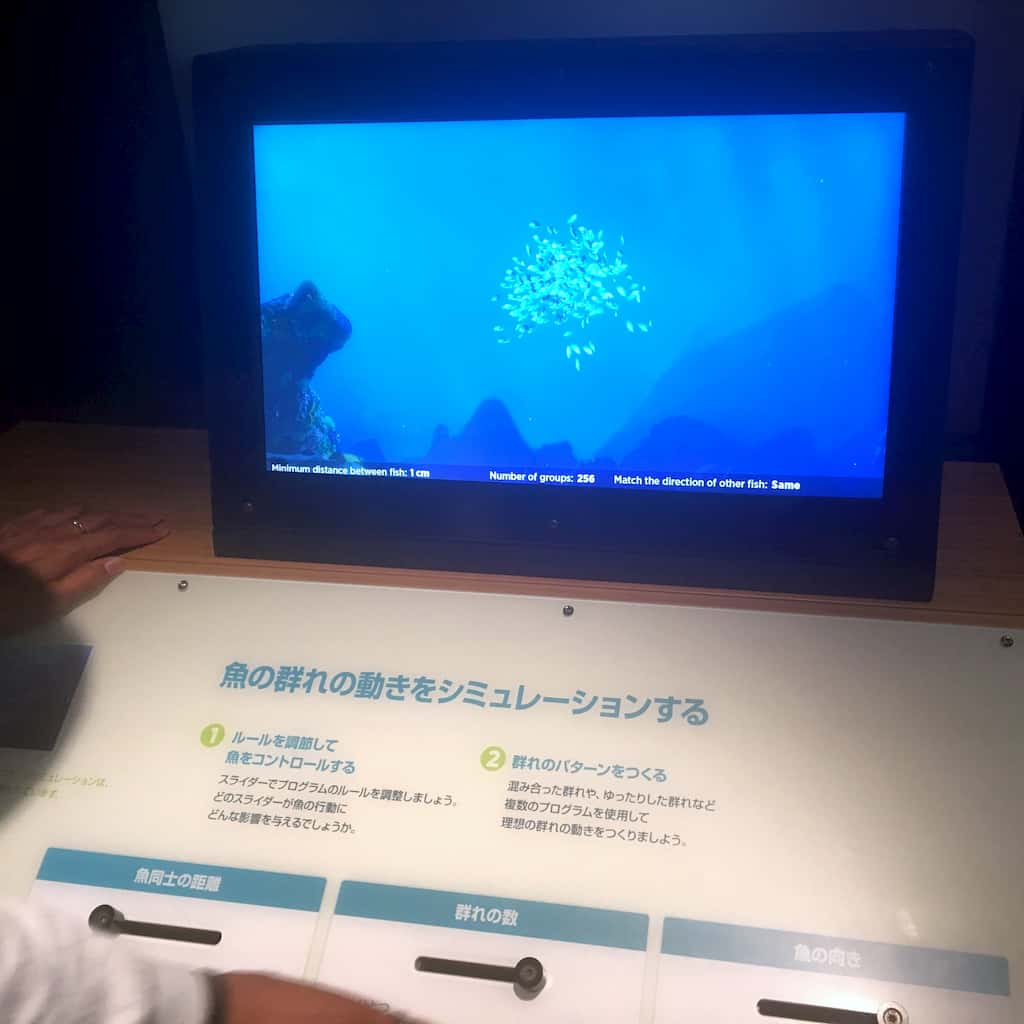
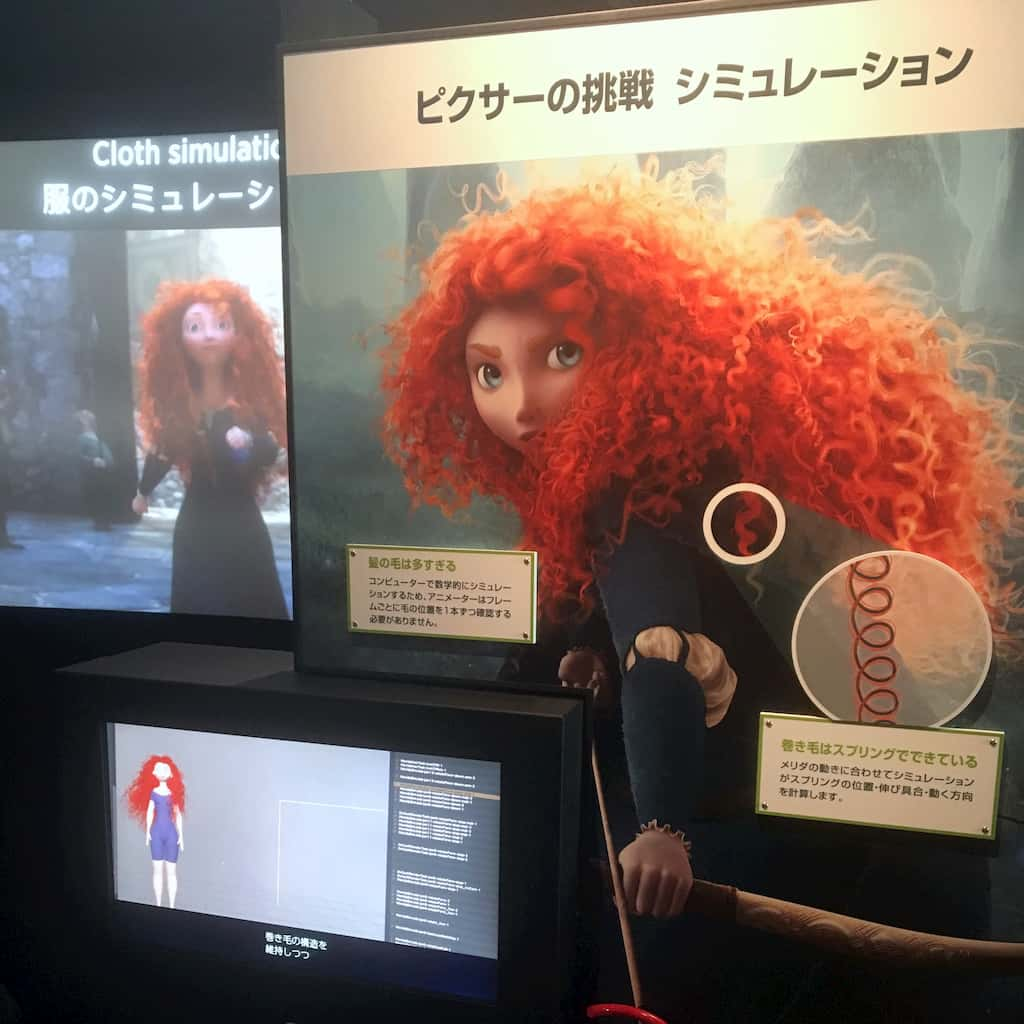
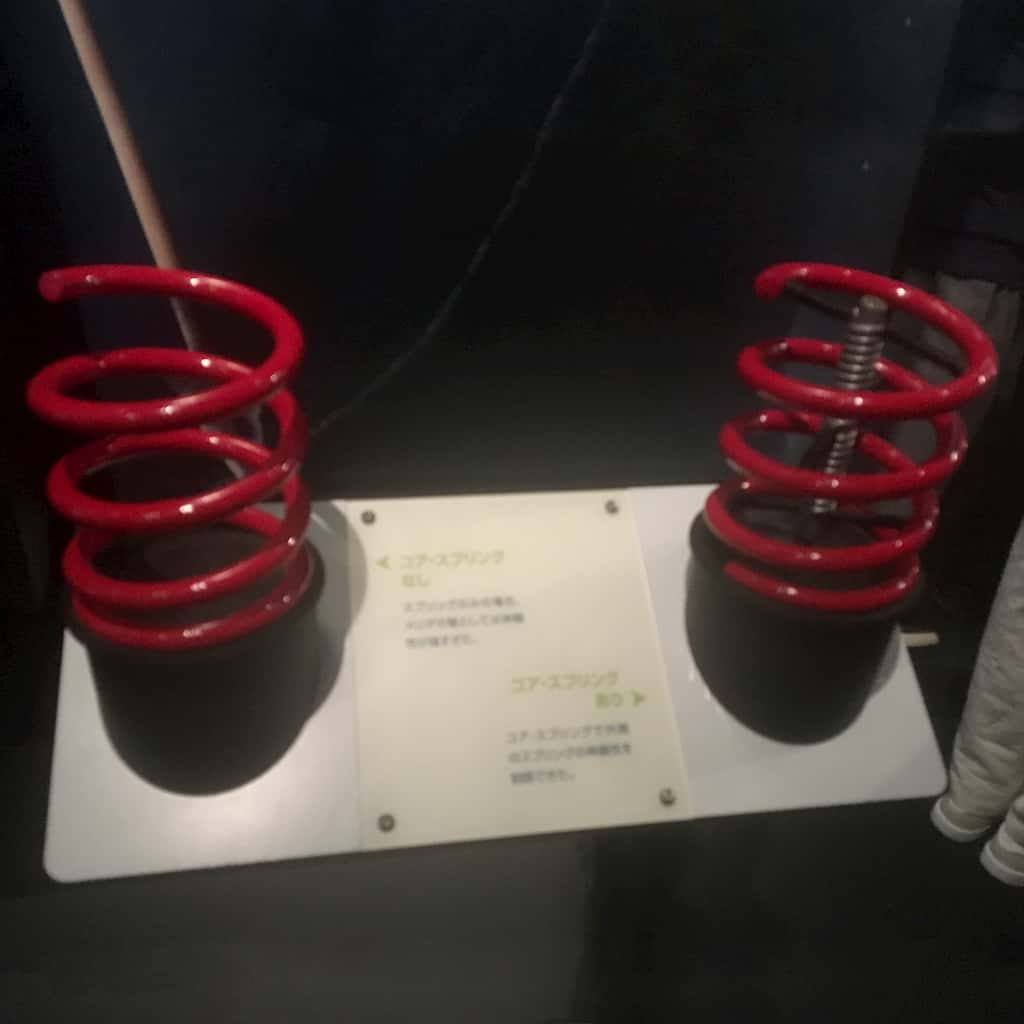
Some animations and effects are too difficult or time-consuming to be rendered by hand. This is the perfect use case for simulation, where we can let the computer do the hard work for us.
Using complex algorithms, it’s possible to realistically calculate how particles and other effects like water, fire, smoke, hair, and cloth movements would interact with the character movements and surrounding environment. Simulations with a higher degree of realism require higher computation time.
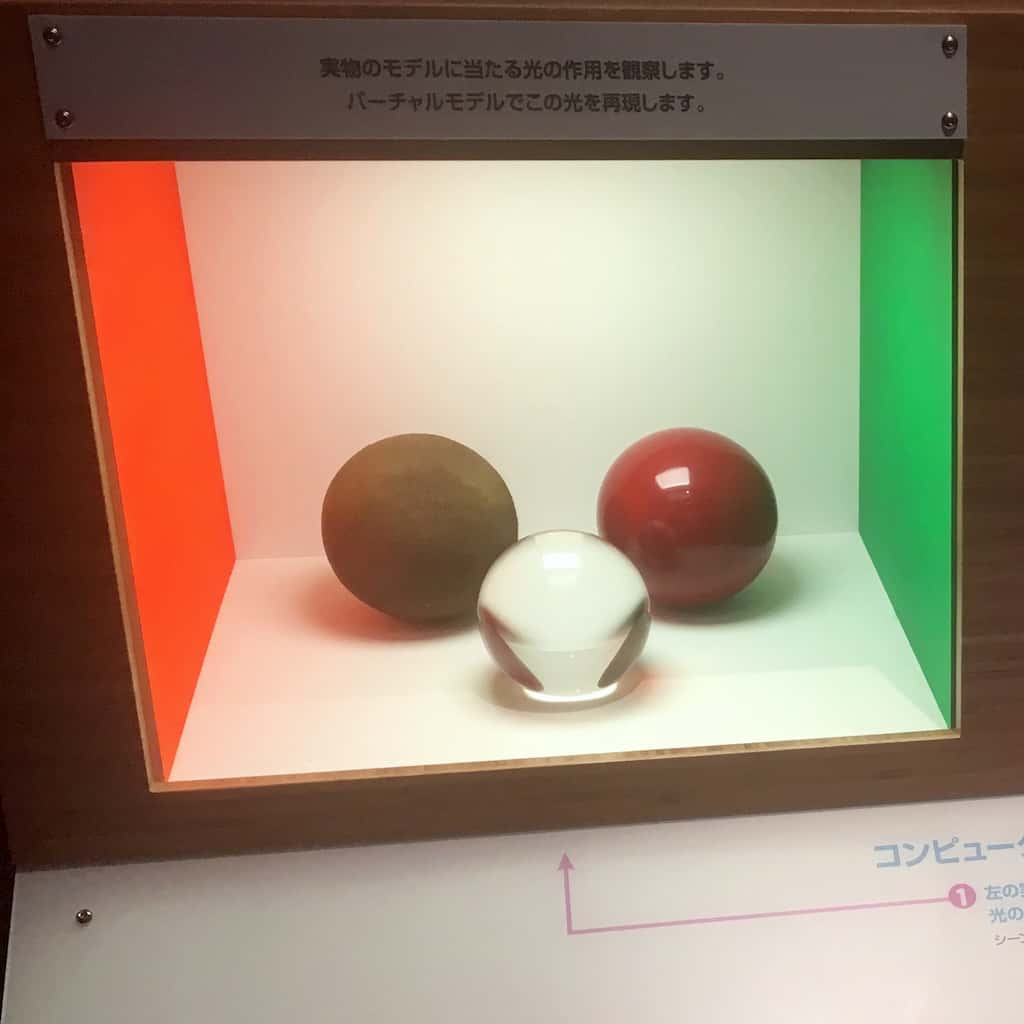
Lighting
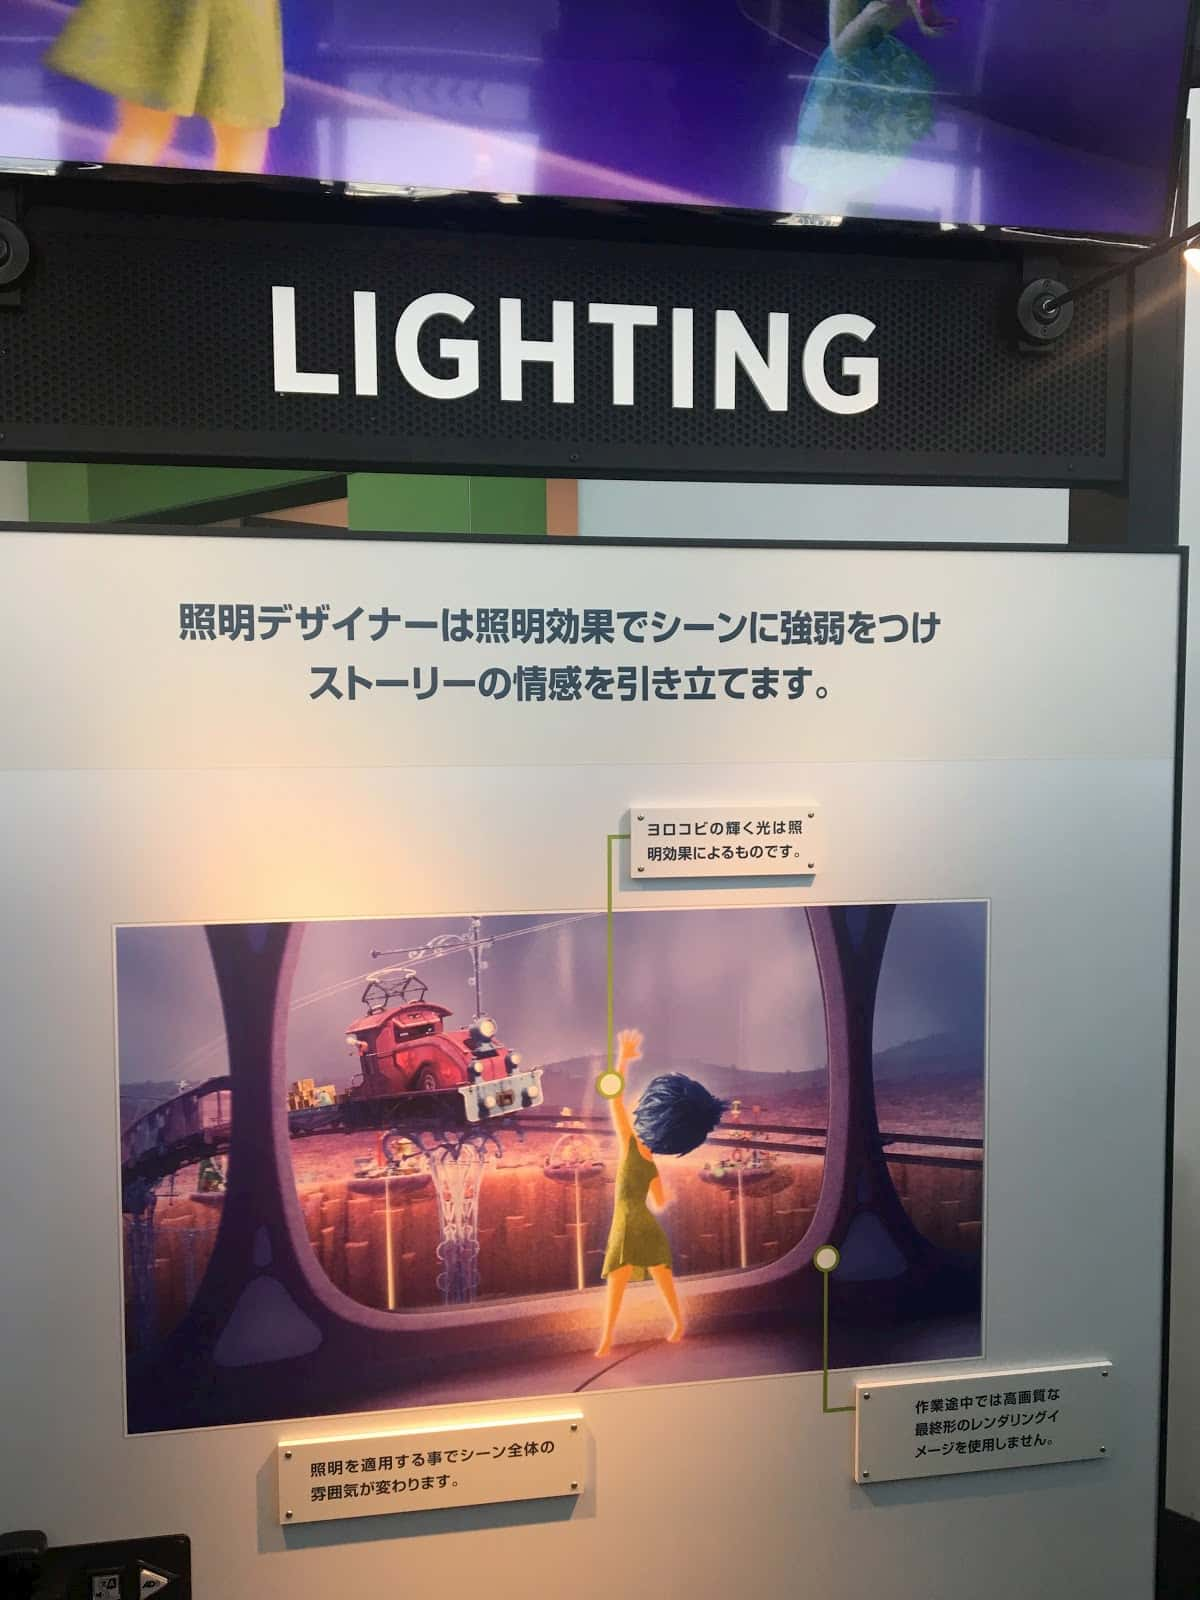
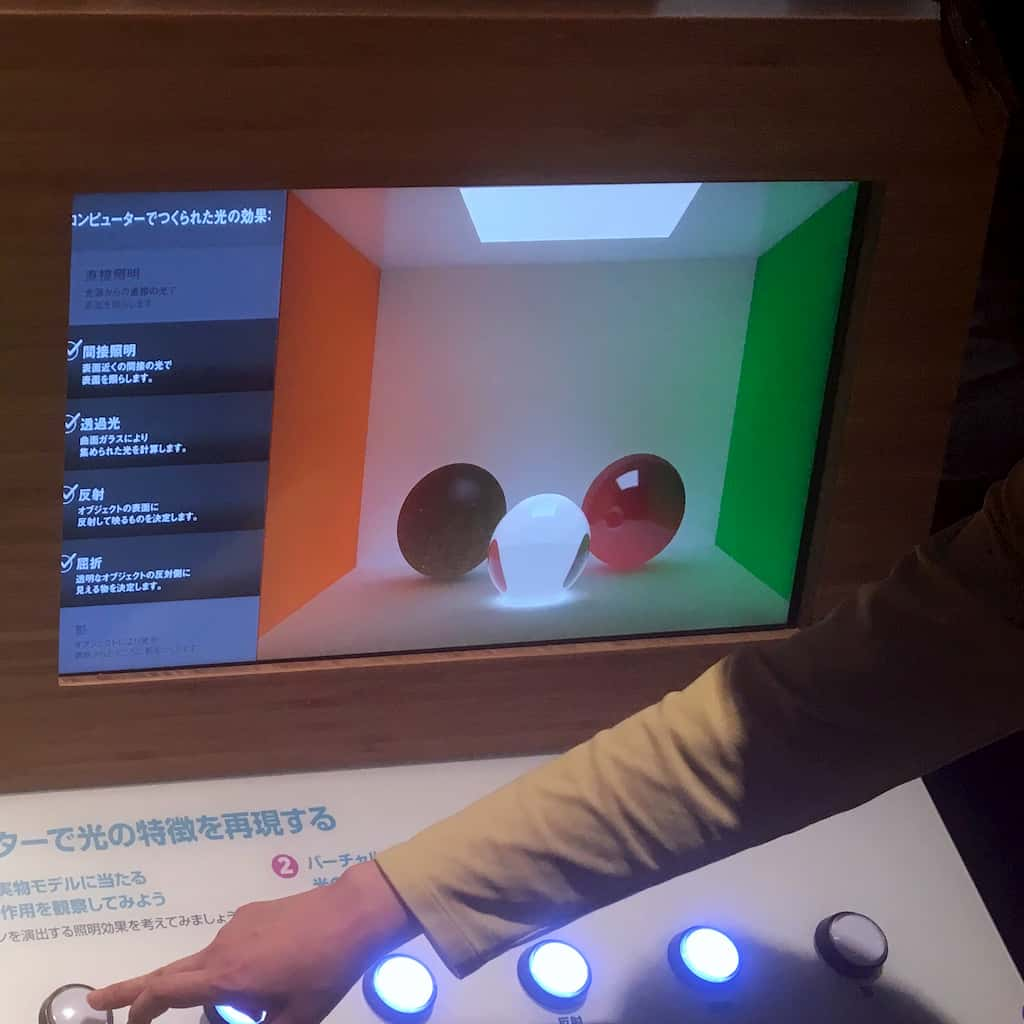
Lighting is crucial for setting the mood of the shoot. Lighting designers carefully craft virtual lights inside a virtual set to help bring the scene to life. Different lighting setups can drastically change the mood of a scene. This lighting setup is the sum of all the lights affecting the scene.
Since the calculations needed for such lights can be extremely computationally expensive, the light rendering quality used while working on a scene is a fast approximation, while the final render will use a higher quality setting.

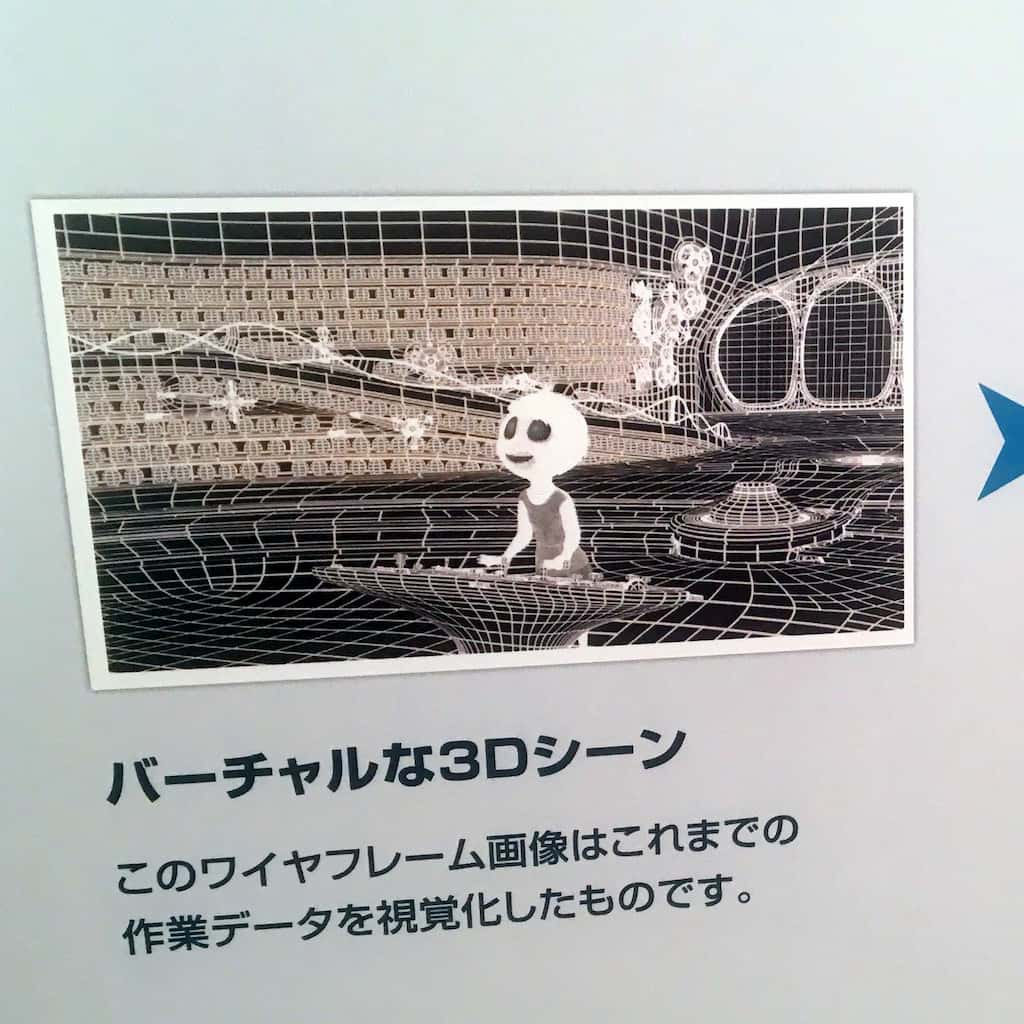
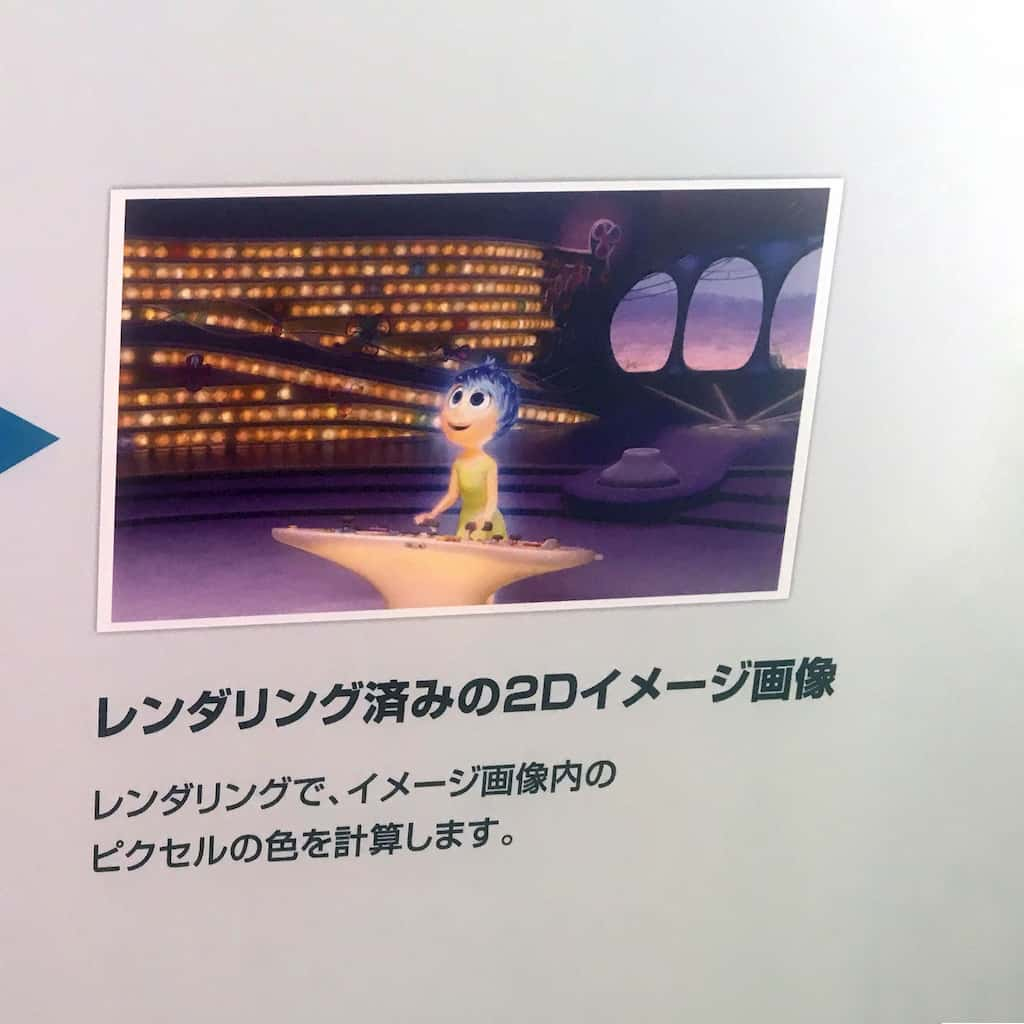
Rendering
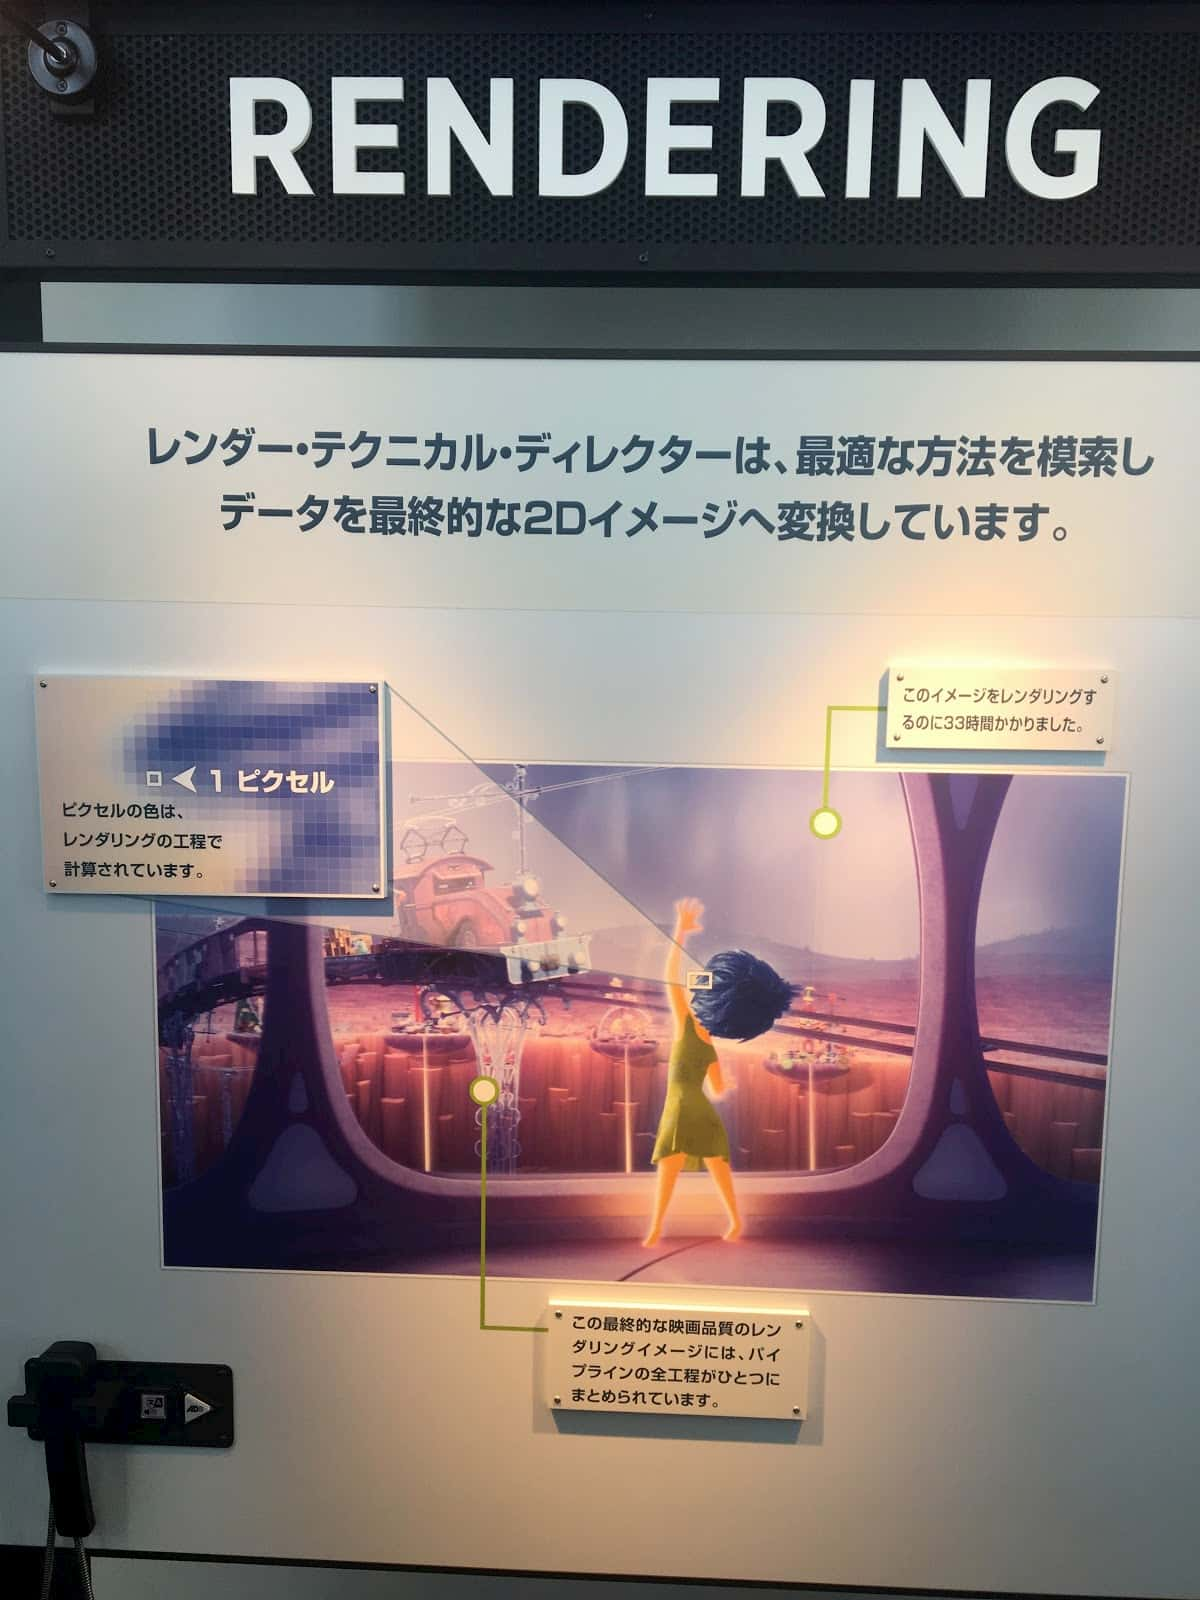
Rendering is the process of creating a 2D image using all the data prepared over the previous steps. The resulting image is the sum of all the prior activities in the pipeline.
During the rendering process, the computer calculates the color of every single pixel composing the final image. Model geometry, model count, surfaces, lighting, simulations, quality settings, image resolution, frame count, etc. are all factors that influence the rendering time. The higher the complexity, the longer the rendering time will be. For example, this frame of Joy waving at the train took 33 hours to fully render.
Conclusions
I thoroughly enjoyed this exhibition. It really makes you appreciate just how many hours and how much care Pixar puts into every movie they produce. I truly love 3D animation because it’s the perfect intersection between art and science. I only wish I could have gone back on a less crowded day to explore more of each interactive exhibit!